
Creating your own floating shelves is not only a fantastic way to add functional storage to your space, but it also allows you to showcase your DIY skills. This guide will walk you through every step, from planning and gathering materials to installation and maintenance. Whether you’re looking to declutter, display treasured items, or enhance your décor, DIY floating shelves are a versatile and stylish solution.
Why Choose DIY Floating Shelves
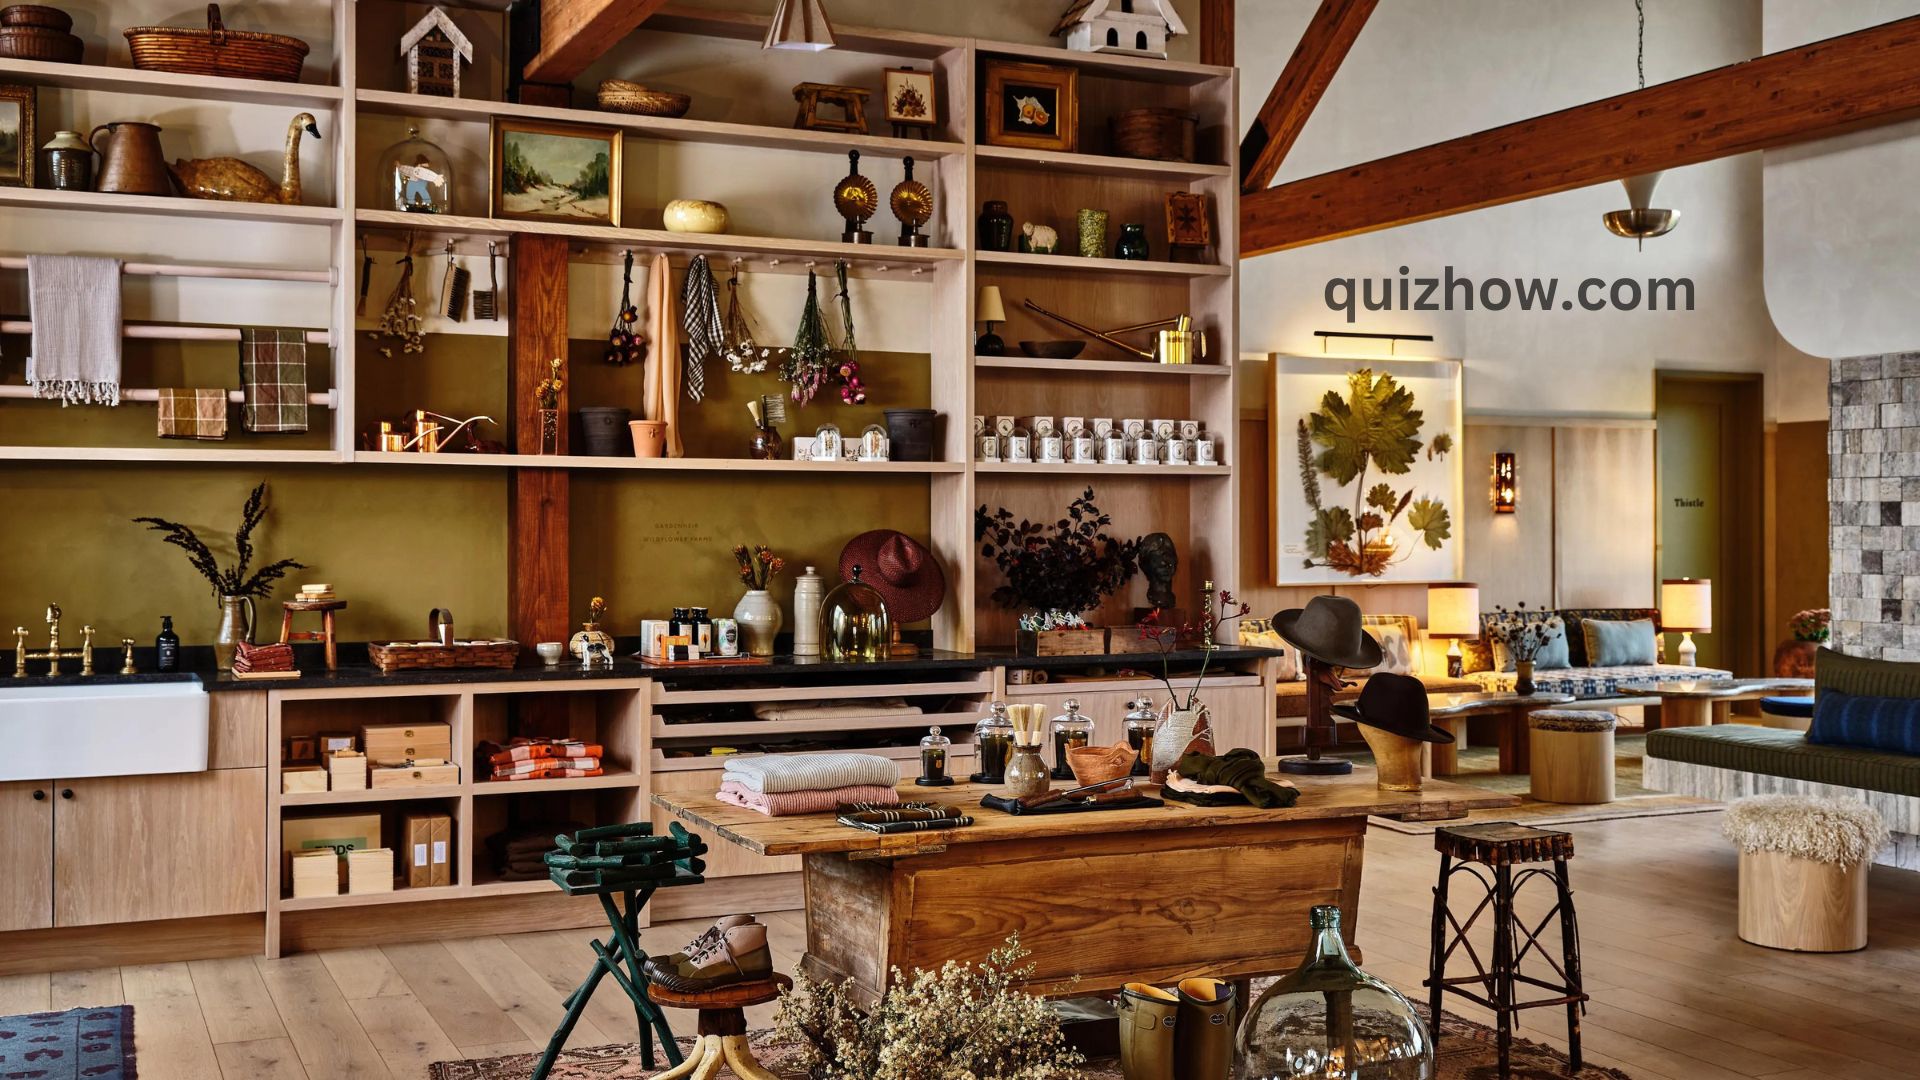
DIY floating shelves are a fantastic way to enhance your home’s storage and aesthetic appeal while showcasing your creativity and craftsmanship. These shelves offer a unique blend of functionality and style, providing a sleek, modern look that seamlessly integrates into any room. By choosing to build your own floating shelves, you gain the flexibility to customize the size, shape, and finish to perfectly match your décor and meet your specific storage needs.
Benefits of Floating Shelves
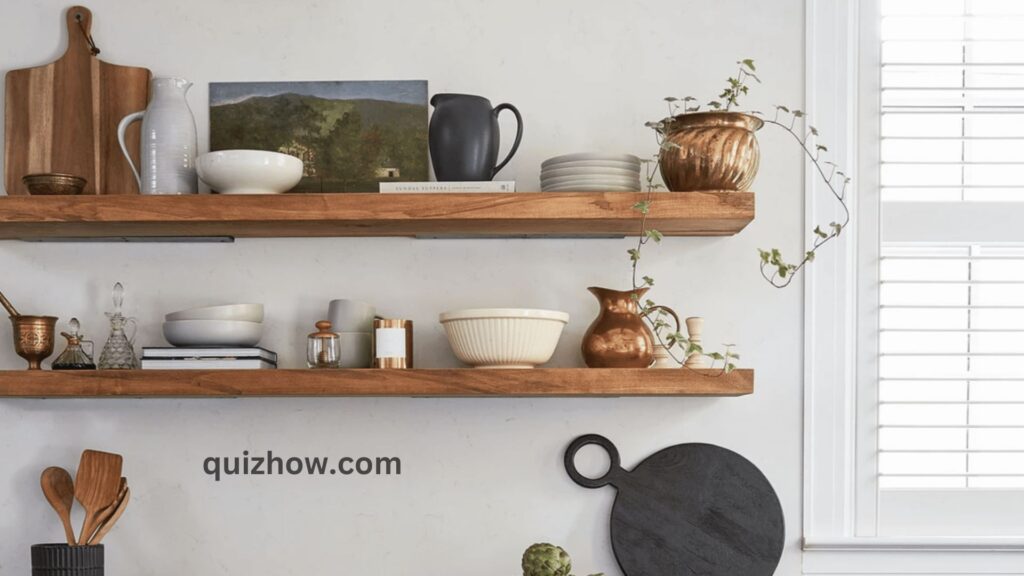
Floating shelves offer a sleek, modern look that integrates seamlessly into any room. Without visible brackets, these shelves give the illusion of floating on the wall, creating an airy, open feel. They are perfect for small spaces, as they provide storage without taking up floor space.
Cost-Effectiveness of DIY Projects
Opting for a DIY approach to floating shelves can save you significant money compared to purchasing pre-made shelves. DIY projects also allow you to customize the shelves to perfectly fit your space and style preferences. Plus, the sense of accomplishment that comes from completing a project yourself is priceless.
Planning Your DIY Floating Shelves

Proper planning is the cornerstone of any successful DIY project, and creating floating shelves is no exception. Thoughtful preparation ensures that your shelves not only look great but also function perfectly to meet your storage needs. From assessing what you intend to store to choosing the ideal materials and location, careful planning will set you up for success and help you avoid common pitfalls.
Assessing Your Storage Needs
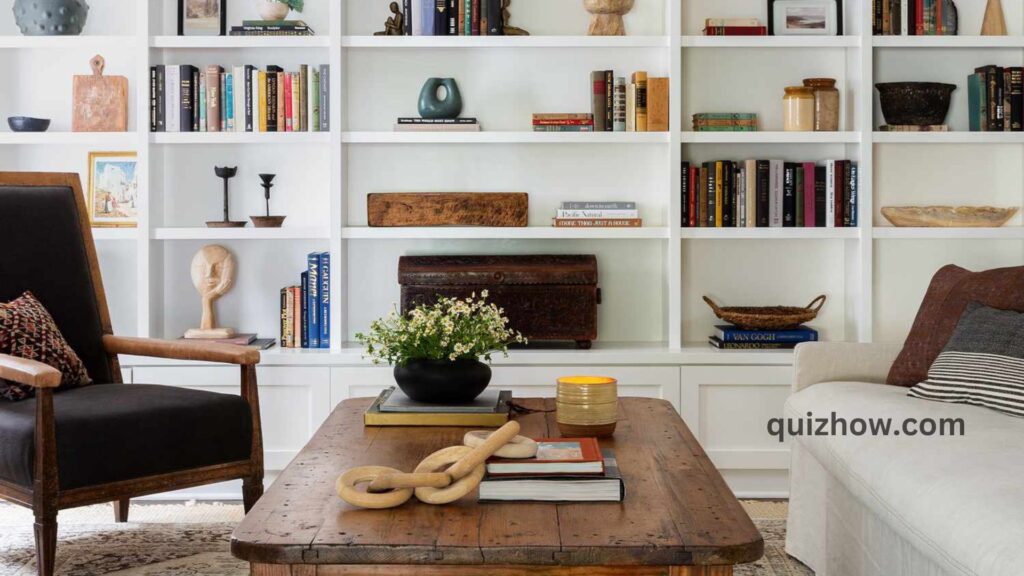
Before you start, take some time to assess what you need to store and where. Are you looking to display decorative items like vases and photo frames, or do you need a sturdy solution for books and heavier objects? Understanding your storage needs will guide your material choices and design decisions.
Selecting the Right Materials
Choosing the right materials is crucial for both the aesthetics and functionality of your shelves. Common choices include wood, metal, and glass. Wood is the most popular for DIY projects due to its versatility and ease of work. Ensure the wood you select can handle the weight of the items you plan to store.
Choosing the Ideal Location
Where you install your floating shelves will significantly impact their functionality and visual appeal. Consider high-traffic areas like living rooms, kitchens, and bathrooms. Make sure the location you choose has adequate wall support, particularly if you plan to store heavier items.
Materials and Tools Needed
Equipping yourself with the right materials and tools is essential for a smooth and successful DIY floating shelves project. The quality and selection of your supplies will significantly impact the durability, functionality, and appearance of your shelves. Knowing what to gather beforehand saves time, prevents mid-project interruptions, and ensures a professional finish. From sturdy wood to reliable tools, having the correct items on hand is the first step toward bringing your vision to life.
Essential Materials for DIY Floating Shelves
- Wood boards (size and type depending on your design)
- Brackets (hidden or decorative, depending on your preference)
- Screws and wall anchors
- Paint, stain, or varnish (optional)
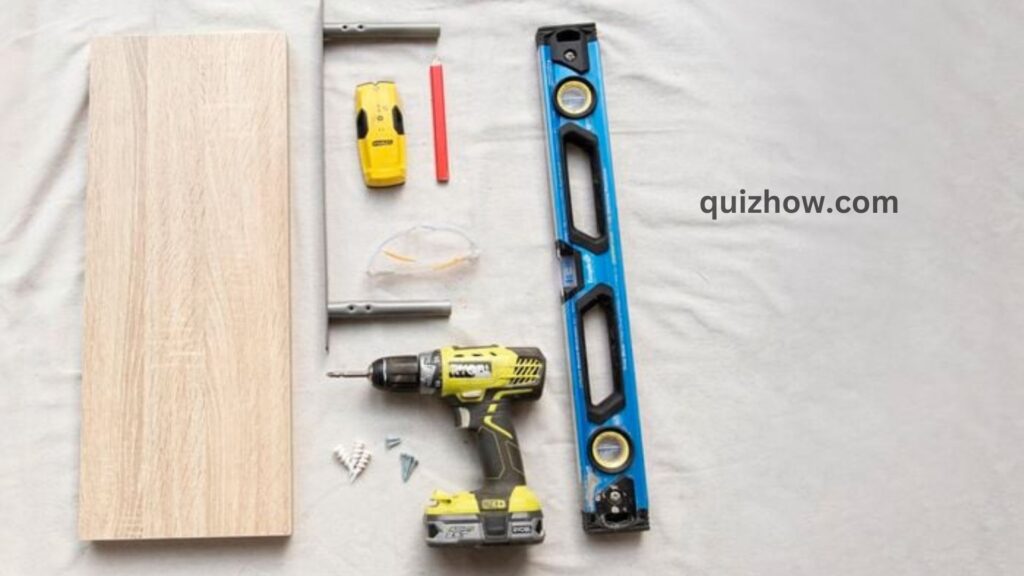
Tools You’ll Need
- Tape measure
- Level
- Stud finder
- Drill and bits
- Saw (hand saw or power saw)
- Sandpaper or sander
- Screwdriver
Designing Your Floating Shelves
Designing your floating shelves is where creativity meets functionality. This stage allows you to craft shelves that are not only practical but also a beautiful addition to your home décor. From determining the perfect dimensions to selecting a finish that complements your style, thoughtful design ensures your shelves will be a standout feature in any room. By carefully considering each element of the design, you can create custom floating shelves that reflect your personality and meet your storage needs with flair.
Sketching Your Design
Start with a sketch of your intended design. This doesn’t need to be a professional drawing, just a rough sketch to guide your project. Note the dimensions and spacing of each shelf.
Considering Shelf Dimensions
Standard floating shelf dimensions can vary, but a common size is 2-3 inches thick, 8-10 inches deep, and 24-48 inches long. Adjust these dimensions based on your storage needs and the space available.
Decorative Elements and Finishes
Decide if you want your shelves to be purely functional or if they should also serve as decorative elements. Paint, stain, or varnish can enhance the look of your shelves, while decorative brackets can add a unique touch.
Step-by-Step Guide to Building Floating Shelves
Embarking on a DIY project can be both exciting and rewarding, especially when you have a clear, step-by-step guide to follow. Building floating shelves requires attention to detail and a systematic approach to ensure each step is completed correctly. This comprehensive guide will walk you through each stage of the process, from cutting the wood to mounting the shelves, ensuring a successful and satisfying DIY experience. With these detailed instructions, you’ll be well-equipped to create stunning floating shelves that enhance your space with both style and functionality.
Preparing the Materials
Begin by cutting your wood to the desired dimensions. Use a tape measure to ensure accuracy. Sand the edges and surfaces until smooth to avoid splinters and create a polished look.
Cutting and Sanding the Wood
Cut the wood boards to size using a saw. Sand all surfaces and edges thoroughly to prepare them for finishing. This step is crucial for achieving a professional look and ensuring safety.
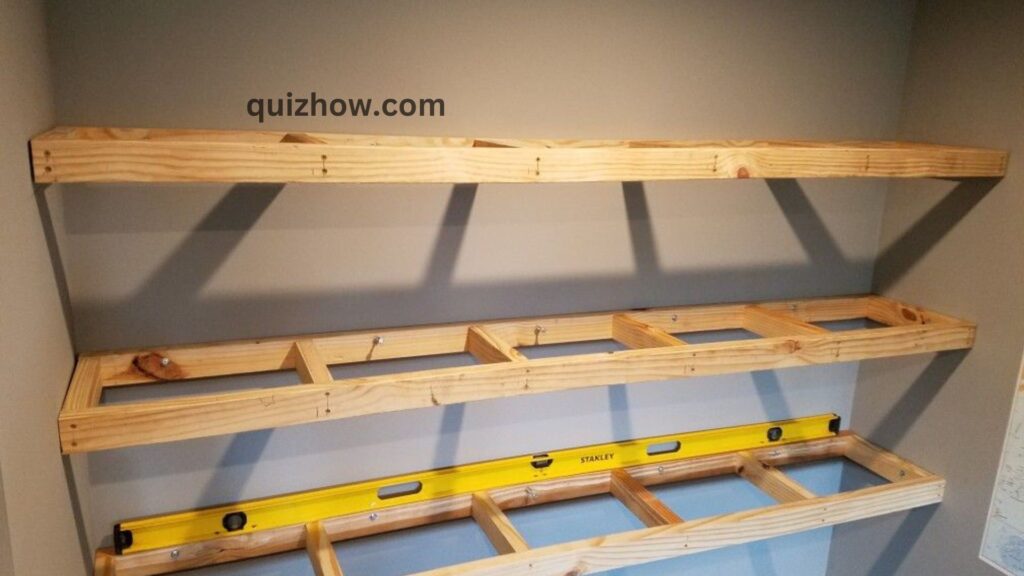
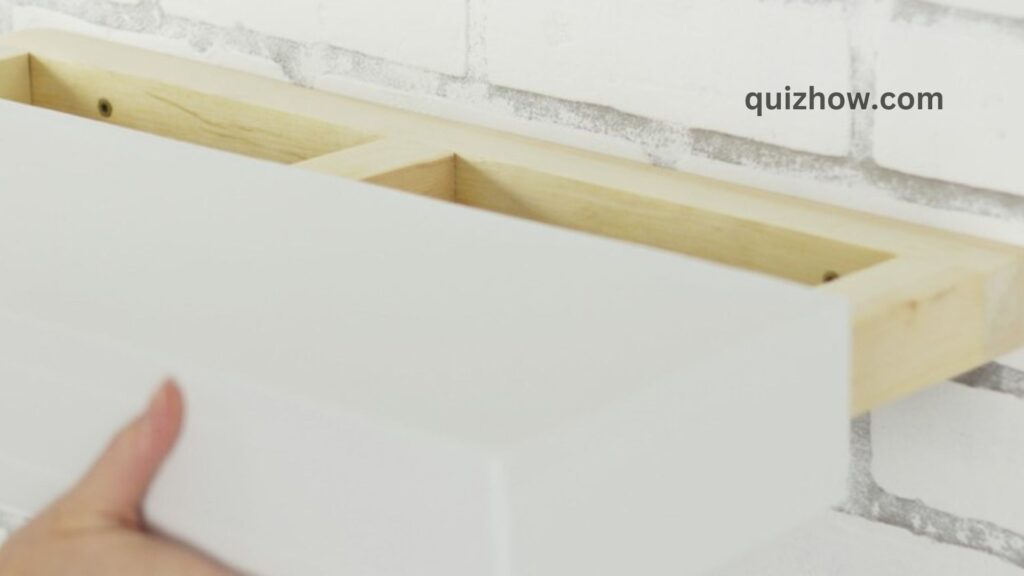
Assembling the Shelf Brackets
Depending on your design, you might be using hidden brackets for a true floating look or decorative ones that add to the aesthetic. Attach the brackets to the shelves according to the manufacturer’s instructions.
Installing the Brackets on the Wall
Use a stud finder to locate the studs in your wall. Mark the locations with a pencil. Drill pilot holes into the studs and attach the brackets securely with screws. Ensure the brackets are level before tightening the screws fully.
Mounting the Shelves
Carefully place the shelves onto the installed brackets. Secure them with additional screws if needed, making sure they are level and sturdy.
Final Touches and Finishing
Apply paint, stain, or varnish to your shelves for a finished look. Let the finish dry completely before placing items on the shelves.
Also Read: Discover Your Ideal Career Path: Take Our Career Quiz
Customization Ideas
Unleash your creativity with a variety of customization ideas to make your DIY floating shelves uniquely yours. Personalizing your shelves allows you to blend functionality with aesthetics, creating a one-of-a-kind piece that reflects your style. From bold paint choices to decorative brackets and integrated lighting, customization can transform simple floating shelves into standout features in any room. Explore these inspiring ideas to add your personal touch and elevate the look and feel of your shelves.
Adding Paint or Stain
Customize your shelves with a coat of paint or stain to match your décor. Use bold colors for a statement piece or natural stains for a more rustic feel. Always apply multiple thin coats rather than one thick coat for the best results.
Decorative Brackets
Consider using decorative brackets to add a unique touch to your floating shelves. These can be found in various styles and finishes, from industrial metal to ornate wrought iron.
Incorporating Lighting
Adding LED strip lights or small spotlights can make your floating shelves stand out. Lighting not only highlights the items on display but also adds ambiance to the room.
Maintenance and Care
Ensuring your DIY floating shelves remain in top condition requires regular maintenance and care. Proper upkeep not only preserves the beauty of your shelves but also extends their longevity. By following simple cleaning routines and addressing minor repairs promptly, you can keep your floating shelves looking and functioning their best for years to come. Learn the essential tips and tricks for maintaining your shelves, so they continue to enhance your space with effortless elegance.
Cleaning and Upkeep
Keep your floating shelves looking their best by dusting them regularly and wiping them down with a damp cloth as needed. Avoid using harsh chemicals that could damage the finish.
Repairing Minor Damages
Minor scratches or dents can be repaired with wood filler or touch-up paint. For more significant damage, you might need to sand and refinish the affected area.
Common Mistakes to Avoid
Even the most seasoned DIY enthusiasts can make mistakes, but knowing what to watch out for can save you time, effort, and frustration. Avoiding common pitfalls is crucial for ensuring your floating shelves are safe, secure, and aesthetically pleasing. From selecting the right materials to proper installation techniques, understanding these frequent errors will help you achieve professional-quality results. Learn about the typical mistakes to steer clear of and how to navigate your DIY floating shelves project with confidence and precision.
Ensuring Level Installation
One of the most common mistakes is not ensuring the shelves are level. Use a spirit level at every stage of the installation to prevent this issue.
Choosing the Right Anchors
Using the wrong type of anchors can lead to shelves pulling away from the wall. Make sure to use appropriate anchors for your wall type and the weight of the items you plan to store.

Overloading Shelves
Avoid overloading your floating shelves, which can cause them to sag or pull away from the wall. Always adhere to the weight limits specified by the bracket manufacturer.
Inspiration and Ideas
Spark your creativity with a wealth of inspiration and ideas for your DIY floating shelves. Whether you’re looking to add a touch of elegance to your living room or create functional storage in your kitchen, exploring various design concepts can help you envision the perfect shelves for your space. From modern minimalist designs to rustic charm, discover an array of styles and innovative uses that will inspire you to create beautiful and practical floating shelves.
Trending Designs
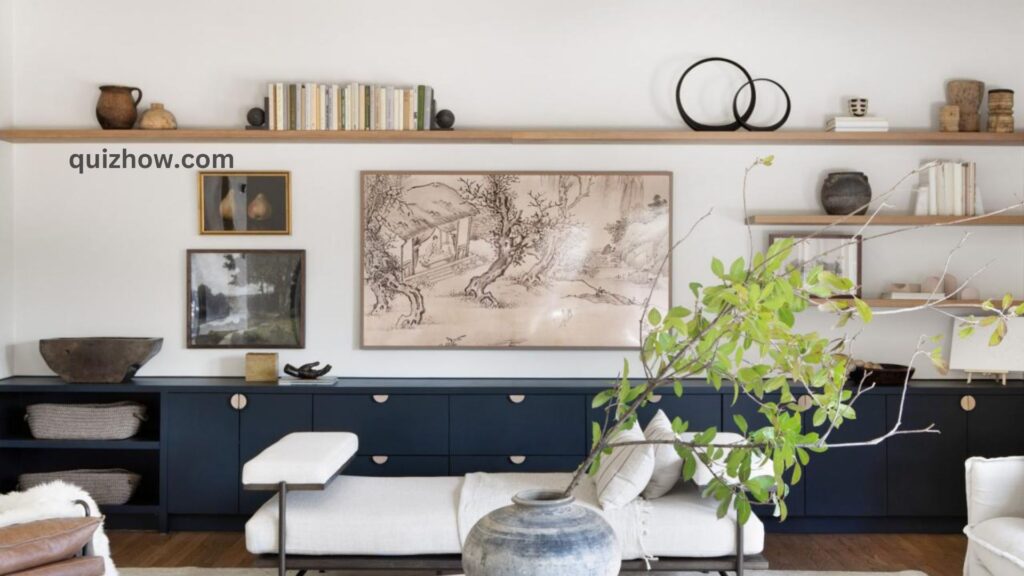
From minimalist to rustic, floating shelves can complement any interior style. Browse design magazines or websites for inspiration. Consider integrating materials like reclaimed wood for a trendy, eco-friendly look.
Creative Uses for Floating Shelves
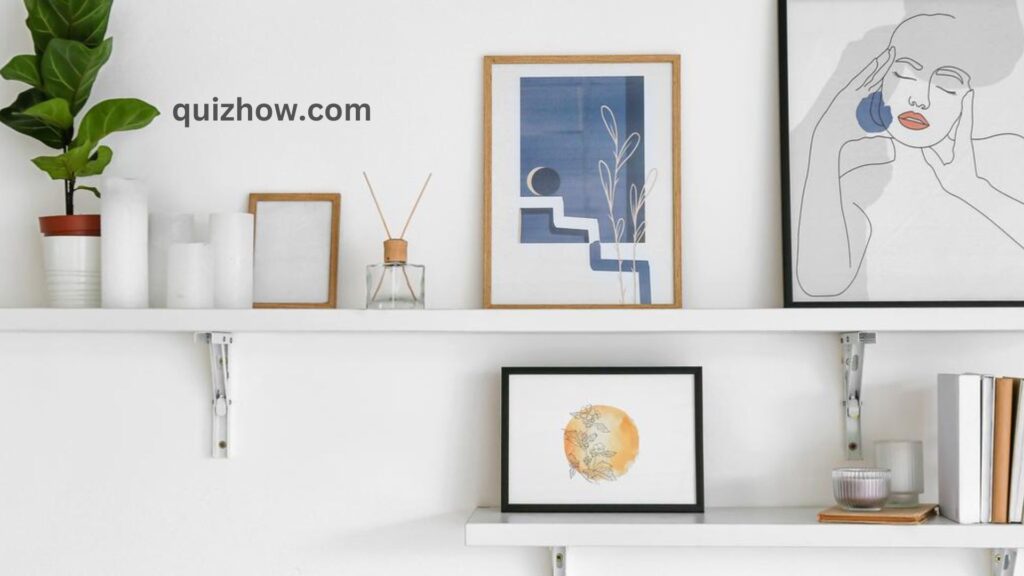
Floating shelves aren’t just for storage. Use them to create a focal point in your room, display a collection, or even as a compact home office solution with a floating desk design.

Discover more from QuizHow
Subscribe to get the latest posts sent to your email.