
You can paint a room, or you can paint it really well. If you want to take it to the next level and paint like a pro—with clean lines and a flawless finish—you need to approach it like the experts do. The secret to painting a room perfectly lies in using quality tools and putting in the right preparation. There are several key steps to properly prepping a room for painting, and each one matters. Once the prep is done, whether you’re a beginner or experienced, the actual painting process involves cutting in the edges, using the roller correctly, and mastering the “W” technique.
Invest in Quality Tools
Professional painters rely on high-quality tools, and they take good care of them because it’s a key part of their job. You can paint a room faster and more efficiently by following their lead and investing in the right tools, such as:

- Premium brushes that won’t shed bristles.
- A durable roller frame (9 inches or smaller) that can be used for multiple projects.
- A quality roller cover with a thick nap, which helps evenly spread paint on the wall. Pros often use a fresh cover for each coat.
- An extension pole with a locking mechanism to reach high spots without the mess.
- A 5-gallon paint bucket, which is more convenient than a paint tray and liner. It holds more paint, comes with a lid for storage, and avoids the hassle of pouring paint back into the can.
- A roller screen that sits in the bucket, helping drain excess paint back into the container and reducing mess and waste.
By using these tools, you’ll paint more like a pro.
Don’t Skimp on Prepping
Take your time preparing the room before painting—it’s a key step to getting pro-level results. Here’s how to prep the right way:
- Move as many items as you can out of the room. This clears space for you to work and keeps your things safe from paint splatters.
- If you can’t move everything, push furniture to the center and cover it with a large plastic sheet, securing it with painter’s tape.
- Take down any artwork, shelves, or clocks from the walls, and remove any nails, hooks, or picture hangers.
- Unscrew the switch plates and outlet covers, and use painter’s tape to protect the exposed switches and outlets.
- Cover the floor to protect it from spills.
- Either mask or remove the trim around walls, doors, and windows.
- Patch up any holes or imperfections on the walls, then clean them thoroughly.
- If needed, prime the walls before painting.
Once the prep is done, you’re all set to start painting. Though prepping takes time, you can usually finish painting a room in one day, even if you’re just starting out.
What You’ll Need
Equipment / Tools
- Flathead screwdriver
- Paint scraper (with rounded corners)
- Putty knife
- Clean bucket
- Sponges
- Angled paintbrush or paint edger tool
- 9-inch roller frame
- 9-inch roller cover(s)
- 5-gallon paint bucket
- Bucket screen
- Roller extension pole (optional)
Materials
- Plastic sandwich bags
- Painter’s tape
- Plastic sheeting
- Drop cloths
- Fine-grit sandpaper
- Wall spackle
- TSP
- Primer
- Interior latex pain
Instructions
How to Paint a Room Like a Professional
1.Remove and Prep Switch Plates and Outlet Covers
Turn off the power to the outlets and switches in the room before you start. You definitely don’t want to risk getting shocked while removing the plates and screws.
Use a small screwdriver to take off all the switch plates and outlet covers. Put each one, along with its screws, in a separate plastic sandwich bag so you don’t lose any pieces. Keep the bags in a safe spot away from the paint.
Next, cover the exposed outlets and switches with blue painter’s tape to make sure you don’t accidentally paint over them.
2. Cover Floor and Unmovable Items
Cover the floor with drop cloths, like plastic tarps or rosin paper, to protect it from any paint spills or splatters.
3. Mask or Remove the Trim
Apply painter’s tape along the edges of door and window trim to protect them from paint and patching materials. If you can, remove the baseboards. If not, tape along the top edge of the baseboards to keep them paint-free.
4. Patch the Walls
Before you start cleaning, check the walls for any dents, large holes, scratches, cracks, or peeling paint. Patching these up properly will help you get a smooth, professional-looking finish.
For small scratches and minor flaws, use fine-grit sandpaper to smooth them out. If you see any peeling paint, scrape it off with a paint scraper, then use sandpaper to smooth the edges. For bigger imperfections, spackle them up and sand them down once dry.
Also Read: How to Set Up Budget Smart Home System
5. Clean the Walls
Any mistakes you see before painting will still be visible after you’ve painted, so it’s important to clean the walls and get rid of any stains. The best way to do this is by using trisodium phosphate (TSP). It’s a powerful and affordable cleaner that effectively removes oils and dirt from surfaces.
First, fill a clean bucket with cool water. Add the amount of TSP recommended by the manufacturer and stir it well. Soak a sponge in the TSP solution and use it to clean the walls.
Then, refill the bucket with clean water and use a fresh sponge to rinse the walls. Let the walls air-dry completely before you start painting.
6. Prime the Walls
Priming your walls is a great way to cover tough stains and create a surface that helps paint stick better. Oil-based primers work well for most interior walls. If your walls are in great shape and free of stains, you might use self-priming paint, which skips the priming step.
Different primers are made for specific needs. If TSP didn’t completely remove some stains, use an oil-based masking primer to tackle them. Look for primers that say they block or cover stains. Apply the primer until the stains are no longer visible.

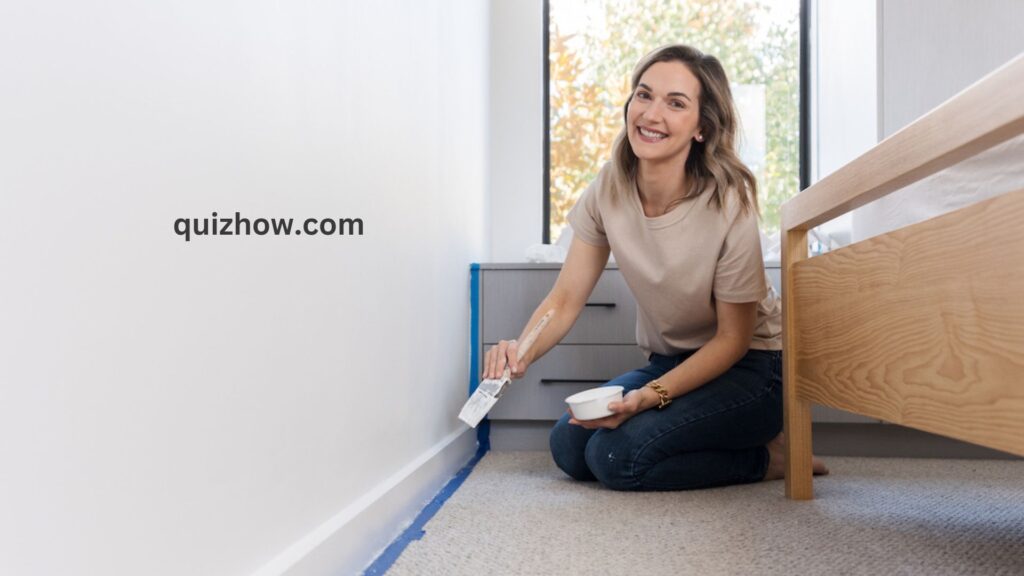
7. Cut-in the Edges
“Cutting-in” means painting right up to the edges of areas you don’t want to cover, like around door trim or where walls meet the ceiling. It’s a technique that many pros use instead of painter’s tape because it’s faster, cheaper, and less messy.
To cut in, lightly dip an angled brush or a paint edger tool into your paint. Gently draw the brush along the edge of the area you’re painting, staying close to the trim or other surfaces you don’t want to paint. Take your time and go slowly to get a neat line. Keep a cloth rag handy to quickly wipe away any paint mistakes.
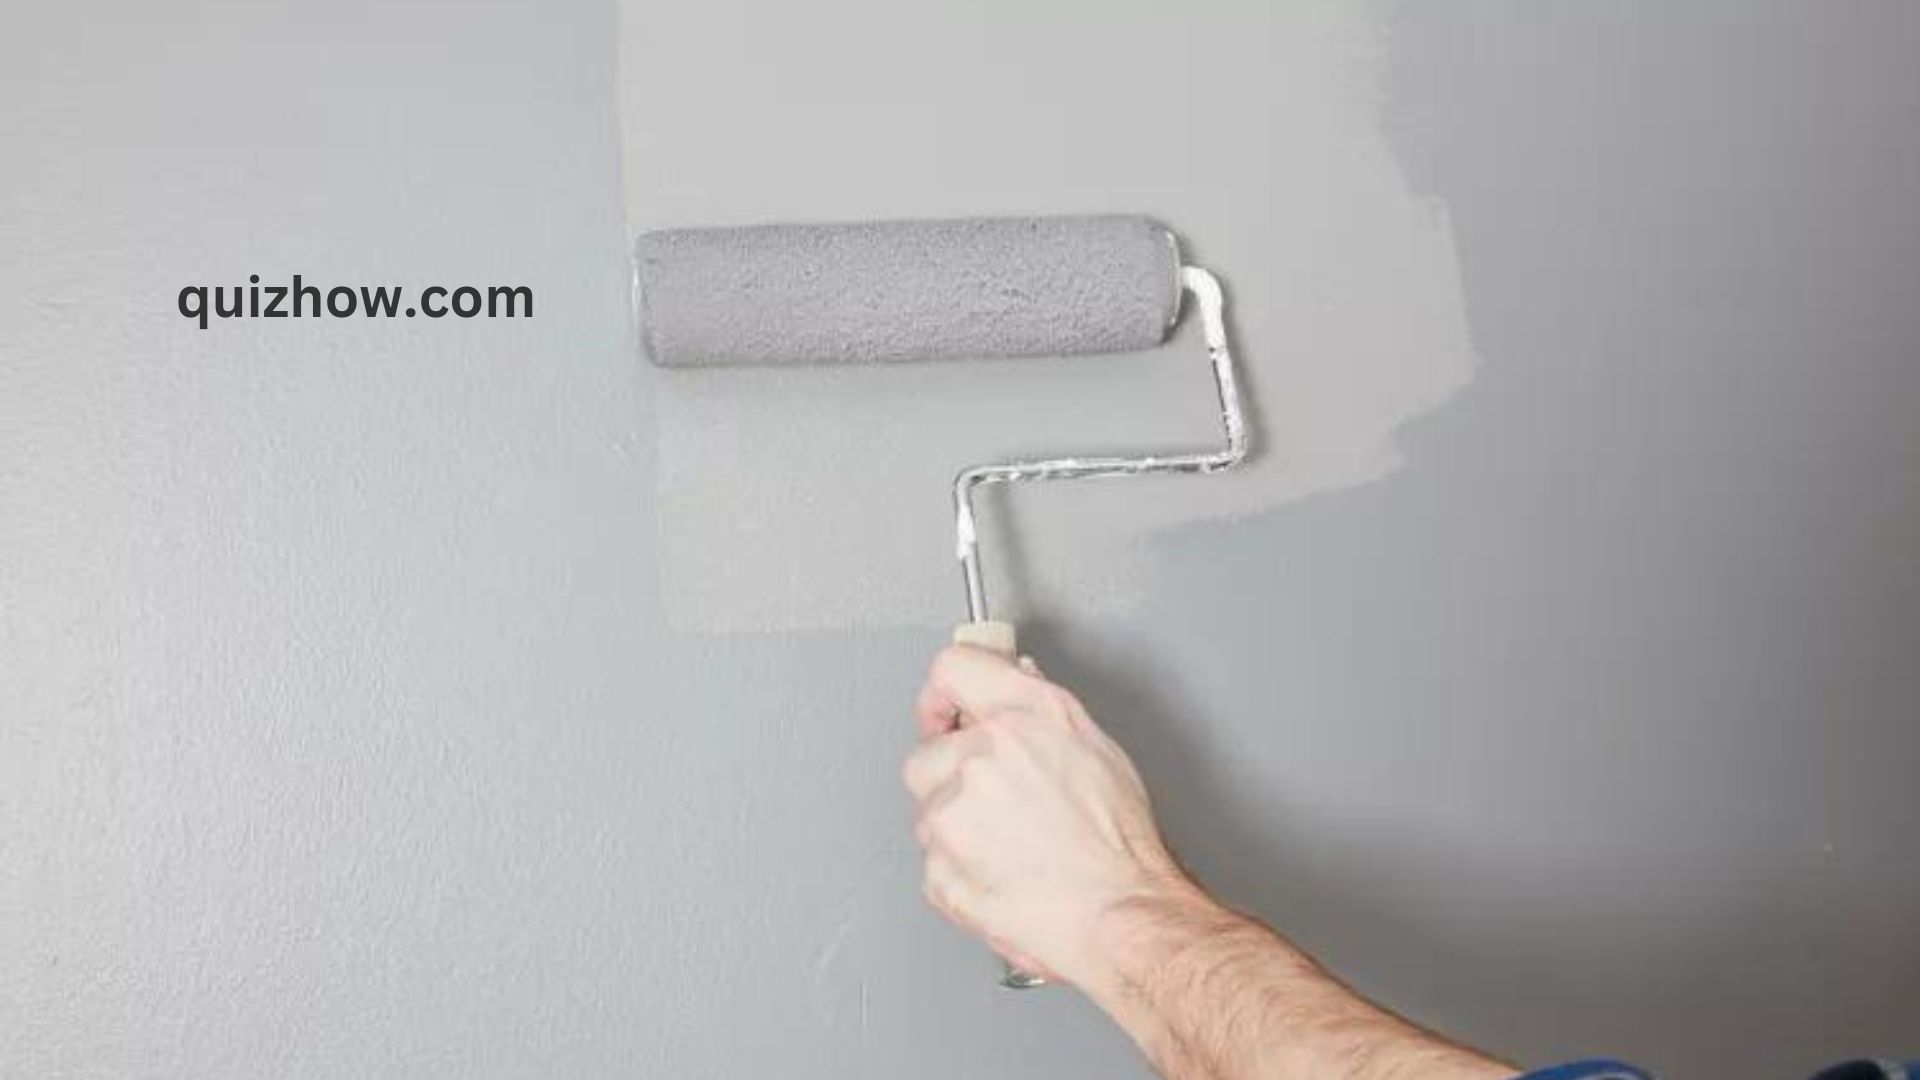
8. Prepare Roller With Paint
Dip the roller into your paint bucket, but don’t leave it in too long. If you overload the roller, it will drip a lot, and those drips can be hard to fix.
Roll the paint-covered roller back and forth on the screen a few times to coat it evenly. Keep rolling until you hear a sticky sound, which means the roller is well-coated. Do this a few times until you’re sure the roller is covered with paint.
9. Roll in a W Shape
Begin in one corner of the wall and make a 3-foot vertical pass down, then go back up, down again, and finish with another upward stroke to form a “W” shape. Continue making overlapping “W” shapes across the wall. Try to work quickly so that the paint edges you’re rolling over stay wet and blend smoothly.
10. Fill in and Complete
Keep rolling out paint in “W” shapes, and every now and then, step back to check how it’s looking. It’s best to work in good lighting so you can spot any missed areas.
For the edges where you used the cutting-in technique, switch your roller to a vertical or horizontal position to fill in any gaps and smooth everything out.

Discover more from QuizHow
Subscribe to get the latest posts sent to your email.