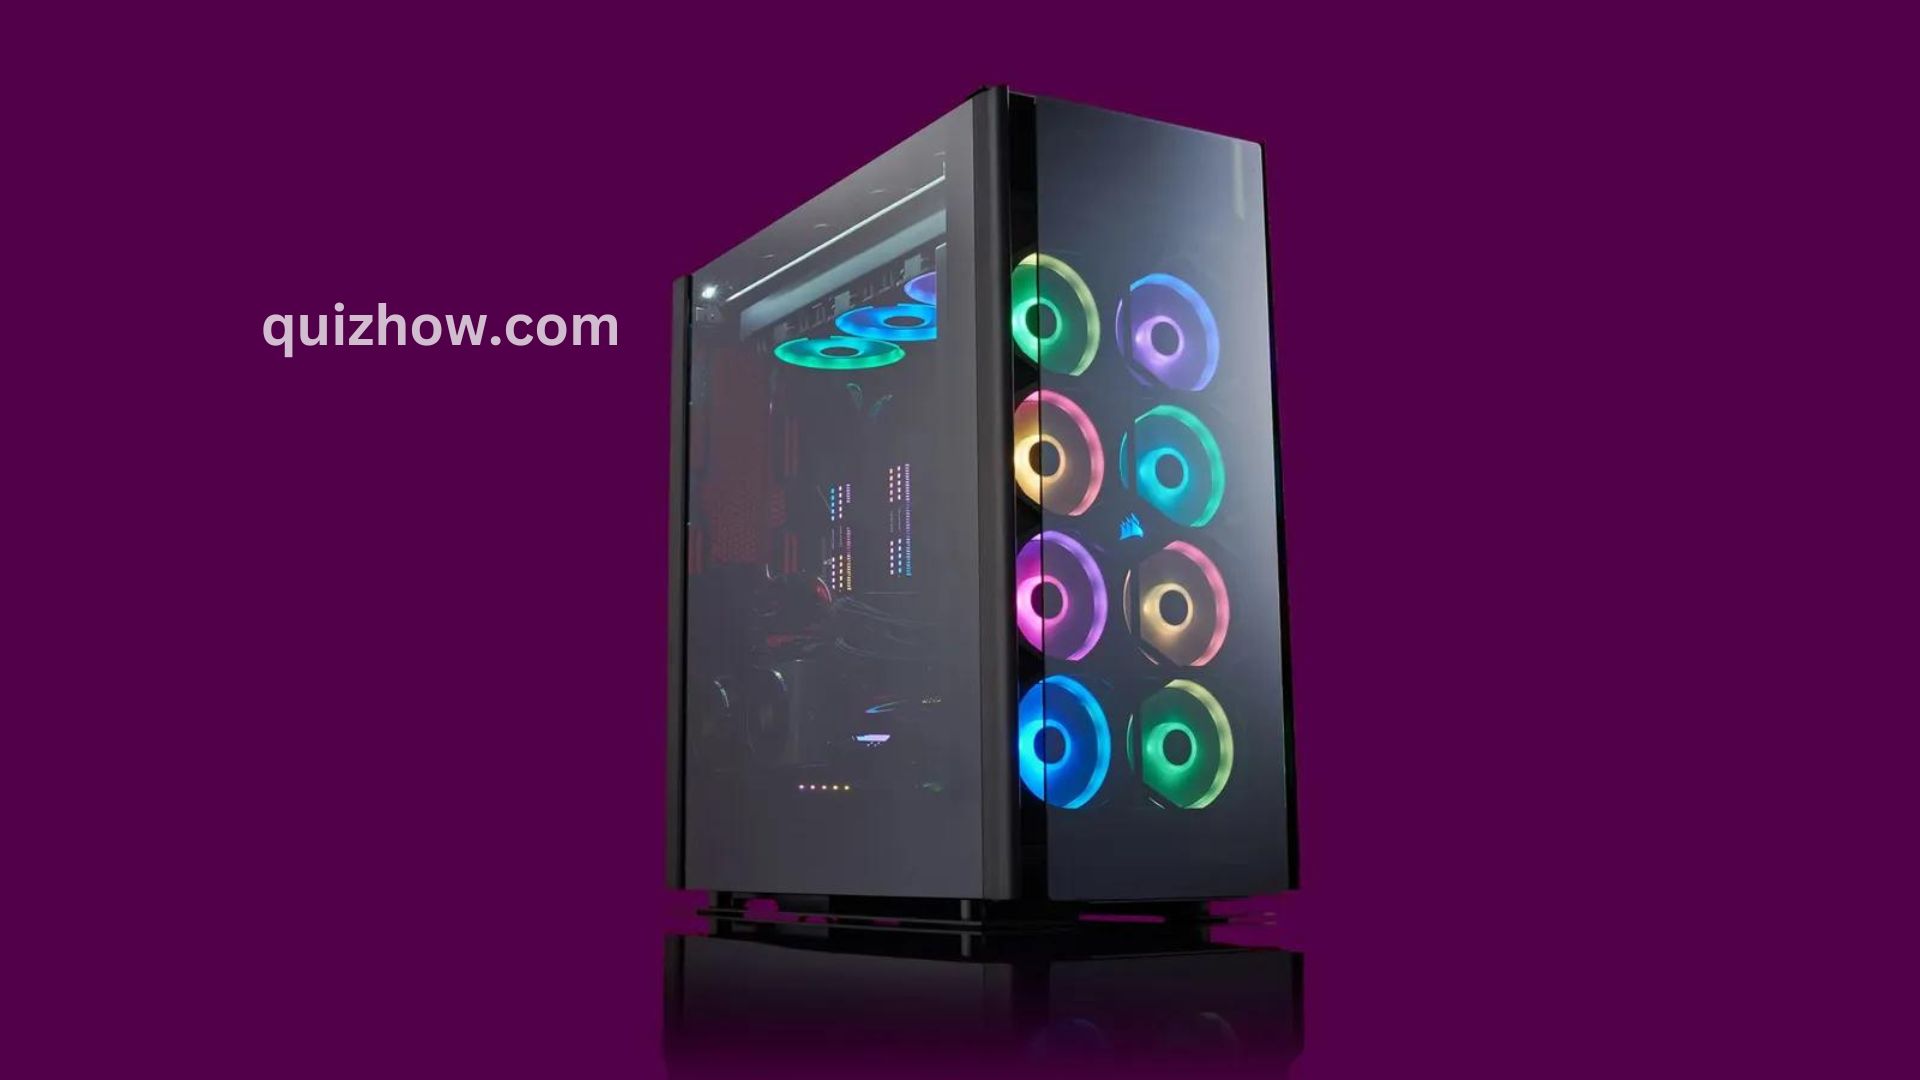
Ready to boost your tech skills? Building your own PC is a great way to learn how every part works and to customize your system just the way you want it.
It might seem tricky, especially if you’re new to it, but with some careful planning, reading the manuals, and taking your time, you’ll gain not just a new computer but also some valuable skills.
While we can’t give you exact instructions for your specific build, we can help you get started with planning tips, advice on buying components, and useful information for each step of the process.
Now that you’ve built your shiny new PC, you might want to check out some cool accessories to go with it. Take a look at our guides for the best gaming keyboards, mice, headsets, and controllers.
We’ve added more details, included info on the latest tech, and refreshed some of our recommendations.
Start With a Plan
The global chip shortage hit PC builders hard over the past few years, but prices for components are starting to return to normal thanks to changes in the economy and technology. Even so, it’s a good idea to shop around since prices can change often.
When buying parts, stick to trusted vendors like Amazon, Best Buy, or Newegg, and check their return policies before making a purchase. Once your parts arrive, inspect them for any damage or missing pieces, and make sure the labels on the parts match what you ordered.
Before you start building, have a clear budget in mind. PC building can get pricey, and it’s easy to overlook some costs if you’re not careful. To help with planning, try using PCPartPicker. It’s a great tool for mapping out your build, choosing compatible parts, and comparing prices from different retailers.
Think about what you need from your new computer. Will it be used just for emails and documents, or will you be gaming? And where will it be placed—on or under a desk? Answering these questions will help you plan better and keep your budget in check.
If you’re feeling confident, check out Logical Increments. They offer example builds at different price and performance levels, which can give you a good starting point or help you find options to upgrade or downgrade based on your needs and budget.
What Do You Need?
Whether you’re building a PC for your home office or for gaming, you’ll need basically the same components. In this guide, you’ll see a lot of abbreviations, so think of this section as your cheat sheet.
Here are the essentials for almost any computer:
- Case: The enclosure that holds all your components.
- Motherboard: The main circuit board that connects everything.
- Central Processing Unit (CPU): The brain of your computer.
- Memory (RAM): Short-term memory that helps your computer run smoothly.
- Storage: Usually a Solid State Drive (SSD) for storing files and programs.
- Power Supply (PSU): Provides power to all your components.
If you’re into gaming, you’ll also need a dedicated graphics card, or GPU. This adds extra cost but is crucial for playing games, as well as for video and photo editing, and other demanding tasks.
Don’t forget to budget for a monitor if you don’t already have one. Monitors come in all shapes and sizes, from basic models for everyday tasks to large, ultrawide screens for gaming, with prices to match. Check out our monitor buying guide for tips on choosing the right one for you.
You’ll also need a keyboard and mouse to control your system. These come in a wide range of styles and prices, from $50 for a basic set to $200 or more for high-end options. Be sure to include these in your budget as well.
Choosing a Case
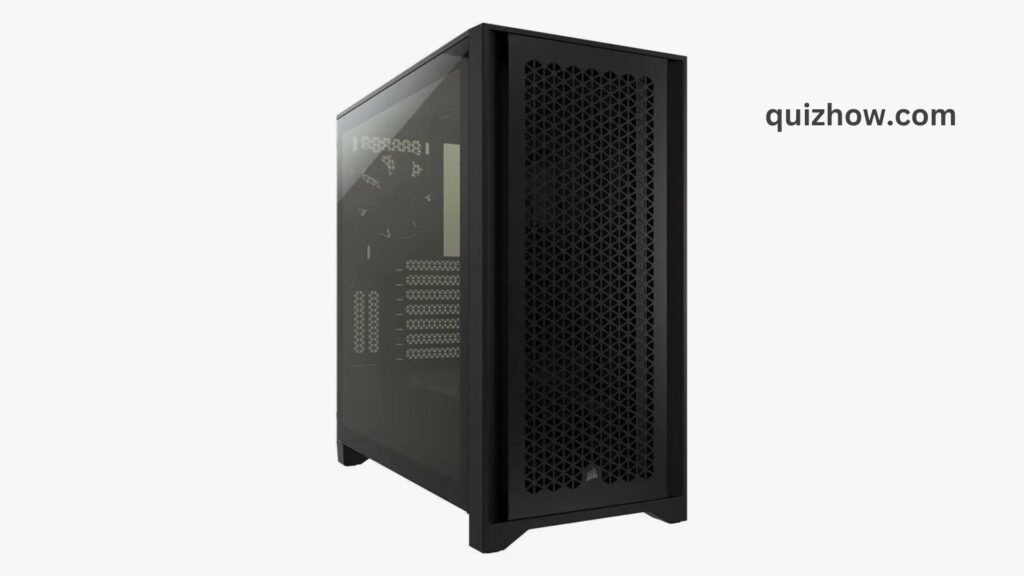
First off, think about where you’ll put your new PC and how big the case needs to be. If it’s going on a shelf or you’re short on desk space, those factors should be your starting point. Make sure to leave some room in front and behind the case for proper airflow, and place it on a flat, hard surface.
Cases are usually labeled by the size of motherboard they can hold. The most common size for home desktops is ATX. “Mid towers” are the standard size you see everywhere, while “full towers” are taller with more room inside.
When choosing a case, don’t be shy about picking one that looks good to you. Many manufacturers offer different colors and panel styles, so you can find one that suits your taste.
Also, check if you need any special features. For example, if you use a virtual-reality headset, you might want a case with a USB Type-C port on the front.
Recommended Cases:
- Corsair 4000D Airflow: A popular mid-tower case from Corsair, the 4000D comes in various colors and finishes. It’s great for beginners with its cable management features and a big mesh front panel for cooling.
- Fractal Design Meshify C: This case has a cool textured front panel and an open interior. It’s versatile enough for a standard desktop or a gaming rig. Like the Corsair, it has excellent airflow and comes in different colors and sizes.
- NZXT H510 Elite ATX Mid-Tower: This is a favorite for its sleek, minimalist design and glass side panel, which lets you show off any extra lighting. I’ve used an older version of this case for years, and it still looks great without any discoloration.
Motherboard
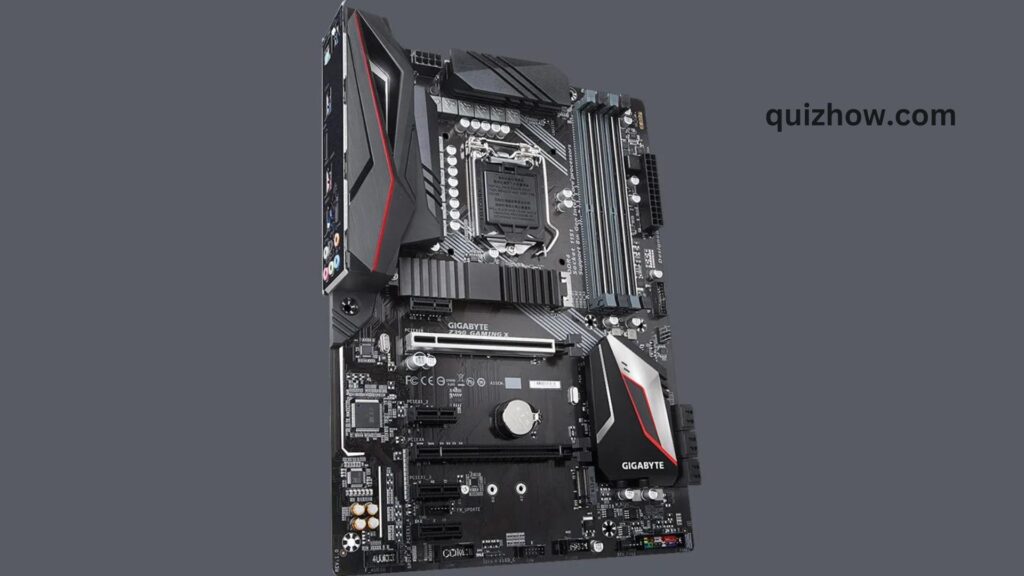
The motherboard is the main hub of your PC, connecting all your other components. They come in different sizes and styles, but they all serve the same basic purpose. Motherboards are designed to work with either Intel or AMD processors, but they aren’t interchangeable, so make sure you get a CPU and motherboard that are compatible.
Motherboards come in two main socket types: LGA and AM. You’ll usually see them with a number, like “LGA1150” or “AM5.” These numbers indicate which generation of Intel or AMD chips they support. As of 2024, the current standards are LGA1700 for Intel and AM5 for AMD.
Most motherboards are ATX size, which is great, especially for first-time builders. More space inside your case means easier setup and upgrades. Check your PC case to see which motherboard sizes it supports to make sure they match.
When it comes to choosing a motherboard, what sets the fancy ones apart from the basic models? It’s usually a mix of advanced features, connectivity options, and performance. These features are often detailed by the motherboard’s chipset, which tells you about memory capacity, connectivity, and overclocking capabilities.
Think about whether you really need those extra features. For example, some chipsets limit the number of memory slots or storage options. Two M.2 slots are usually enough, and overclocking features are typically found on high-end boards and require some expertise.
Here are a few motherboard recommendations to consider, but remember there are many more options out there:
- Gigabyte B650 Gaming X AX (AM5 Socket): Great for mid to high-end AMD gaming PCs, with extra ports like Thunderbolt 3.
- Gigabyte A620M Gaming X (AM5 Socket) Micro-ATX: Ideal for compact builds and mini gaming rigs.
- Asus Prime B760-Plus D4 (LGA 1700 Socket): A solid choice for midrange gaming PCs with four M.2 ports.
- Gigabyte Z790 Gaming X AX (LGA 1700 Socket): Perfect for high-performance gaming PCs, especially if you’re using a 12th- or 13th-generation Intel processor.
Processor (CPU)
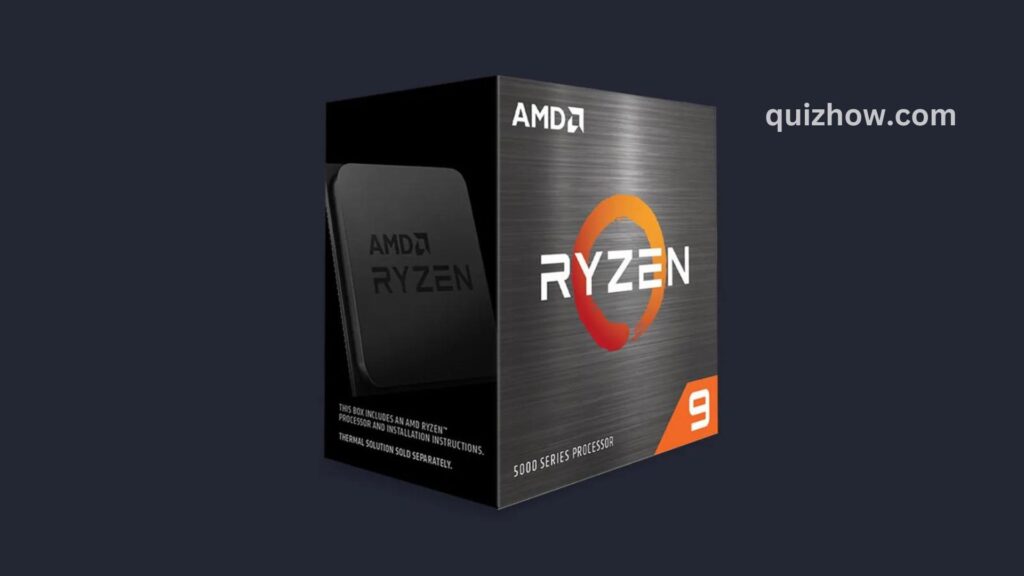
The processor is like the brain of your computer. It plugs directly into the motherboard and handles pretty much everything your computer does. This will be a key factor in your computer’s overall performance, especially for tasks beyond gaming, and it’s likely to be one of your most expensive parts. Make sure the socket type on your CPU matches the one on your motherboard.
Every computer needs a graphics chip, even if it’s just a basic one for showing the desktop and playing YouTube videos. Many entry-level and midrange processors come with integrated graphics that can handle basic tasks, but high-end systems often need a dedicated graphics card, which you might need to buy separately.
Your CPU works hard, so it needs proper cooling. Basic CPUs usually come with a fan and heat sink, but higher-end models often don’t include a cooler in the box.
For a simple air cooler, the Cooler Master Hyper 212 is a reliable choice, available in different colors and fan options. If you want something more advanced, the Cooler Master ML240L is a liquid cooler with a closed-loop design to avoid any mess.
Here are some CPU recommendations:
- Intel Core i5-12600K 6-Core 3.7 GHz (LGA 1700 Socket): Great for everyday tasks and gaming, as long as you have a decent GPU.
- Intel Core i7-12700K 8-Core 3.6 GHz (LGA 1700 Socket): Good for heavy workloads and 4K gaming.
- Intel Core i9-13900K 8-Core 5.8 GHz (LGA 1700 Socket): High-end choice for serious gaming and content creation. It’s powerful but pricey.
- AMD Ryzen 5 7600X 6-Core 5.3 GHz (AM5 Socket): Excellent for gaming and video editing, performing surprisingly well compared to more expensive models.
- AMD Ryzen 9 7950X 16-Core 5.7 GHz (AM5 Socket): A top choice for high-end 4K or 144Hz gaming. It runs hot, so make sure to pair it with a liquid cooler like the Asus ROG Strix LC Liquid Cooler.
Graphics Card (GPU)
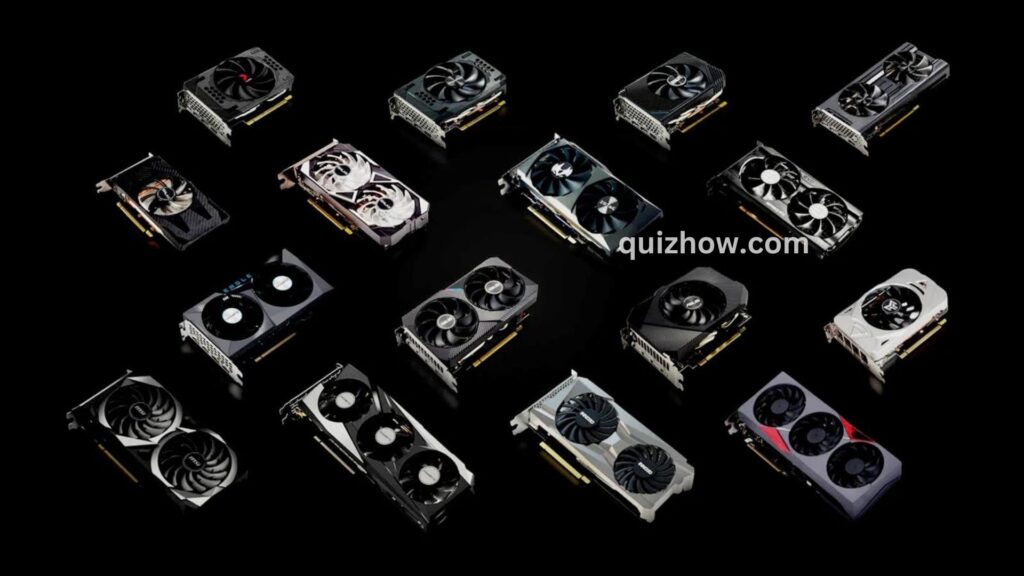
If you’re planning to game, you’ll need a graphics processing unit (GPU), also known as a graphics card. This part is designed to handle all the visual stuff in games and can also help with demanding tasks like video or photo editing, 3D modeling, or machine learning.
Right now, AMD and Nvidia are the main players in the GPU market. Instead of buying a GPU directly from them, you’ll usually get it from board partners like EVGA, Asus, and MSI, who turn their processors into finished graphics cards. Choosing between AMD and Nvidia often comes down to finding the best deal, so keep an eye out for discounts, rebates, and even free games that sometimes come with GPUs.
Buying tip: Even though graphics cards are more available now than in the past, they’re still in high demand and can be pricier than their listed MSRP. It’s worth spending a good chunk of your budget on a quality graphics card. Think of it like buying a $100 pair of shoes that lasts for years instead of a $20 pair that falls apart quickly. For a basic home-office PC, the built-in graphics on your CPU might be enough, but for gaming, investing in a good graphics card is crucial.
Suggested Nvidia Graphics Cards
- MSI GeForce RTX 2060: Great for medium-end gaming, and it’s a solid choice for an office computer that also does some video editing or light gaming.
- Asus ROG Strix RTX 3060: Excellent for 1080p and 1440p gaming.
- Zotac GeForce RTX 3080: One of the top-performing cards, ideal for 4K gaming with ray-tracing. It’s under $1,000, making it a strong choice for its performance.
Suggested AMD Graphics Cards
- PowerColor Red Devil AMD Radeon RX 7900 XTX: If you want a top-of-the-line graphics card, this one is incredibly powerful and handles even the latest games at ultra settings in 4K with ease.
- Sapphire Pulse AMD Radeon RX 6600: A solid pick for 1080p gaming on an AMD system.
- PowerColor Red Dragon AMD Radeon RX 6800 XT: A powerful GPU from the previous generation, currently available at a good discount. It handles demanding games like Cyberpunk 2077 at full 4K resolution with ease.
Storage
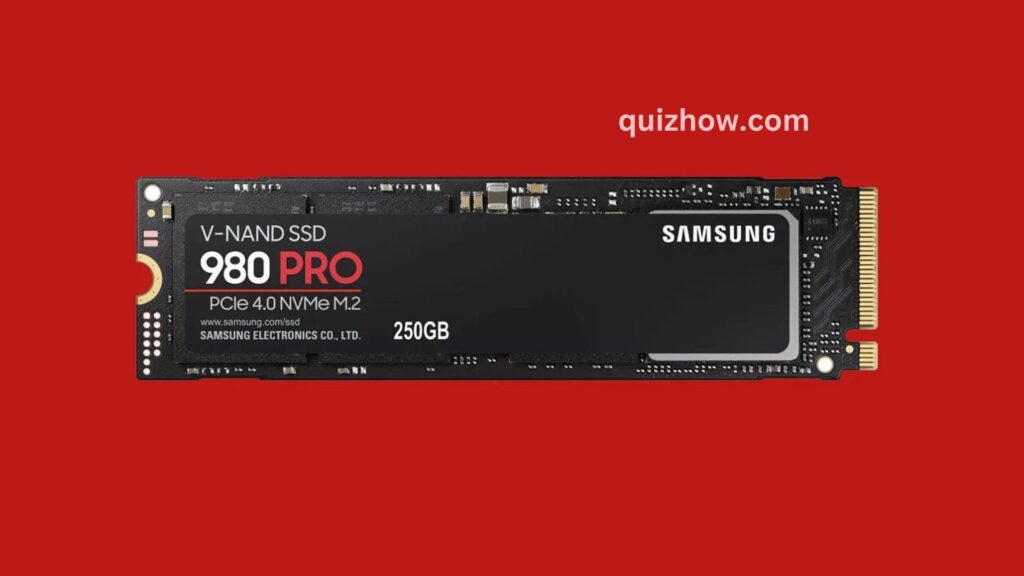
Every computer needs storage, and how much you need depends on what you plan to do with your system. For most users, at least 256 GB is a good starting point, even if you’re just using your computer for basic tasks. Gamers might want to use a 256-GB SSD for the operating system and add a larger drive, like a 1-TB or bigger SSD, for games and media.
Forget about those big, old hard drives (HDDs). Nowadays, most systems use SSDs in the M.2 format, which are small and sleek—kind of like a digital stick of gum. They plug directly into your motherboard, making them faster, easier to install, and less cluttered with cables.
Suggested Hardware
- Samsung 980 Pro M.2 SSD: This drive is fast and reliable, with a read speed of about 6,980 MB/s and a write speed of 4,876 MB/s. It’s small and fits into most motherboards without the need for extra cables.
- Samsung 970 Evo M.2 SSD: A bit cheaper and slightly slower, this drive offers around 3,500 MB/s read speed and 3,300 MB/s write speed. It’s still pretty quick and a great option if you’re on a budget.
- Corsair MP600 M.2 SSD: This one comes with a built-in heat sink to keep things cool while delivering fast speeds of 4,950 MB/s read and 4,250 MB/s write.
- WD Blue 1-TB Internal SSD: A solid choice for extra storage with decent speed. It’s best used as a secondary drive for storing files, games, or media, not for running your OS or games directly.
Memory (RAM)
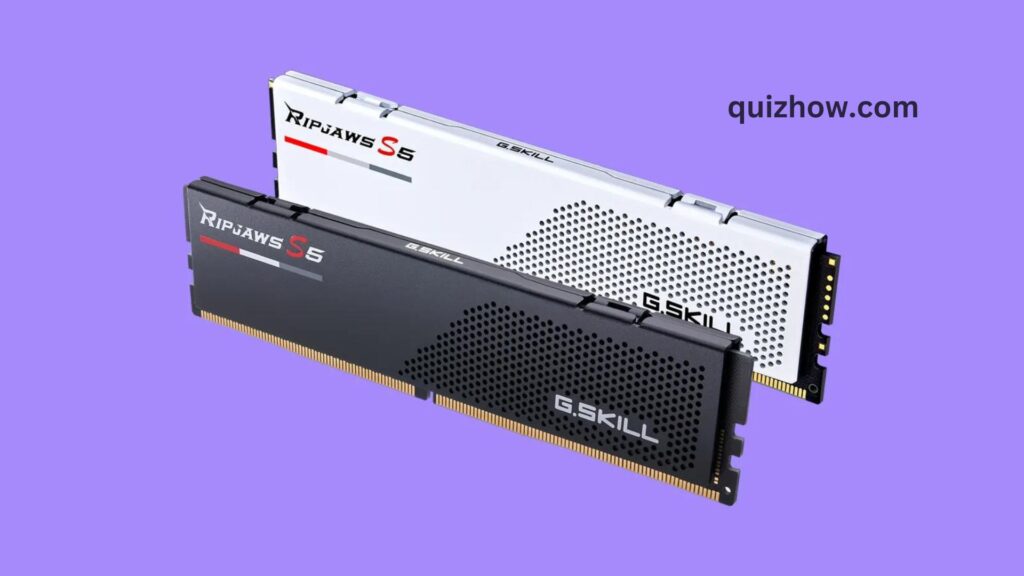
When you’re checking out memory and storage, you’ll come across a lot of the same terms, but they’re actually quite different. Think of memory like a temporary workspace where you quickly toss things you’ll need later. It’s short-term and super important because it helps your computer access data quickly by temporarily storing it.
Most systems use either two or four memory sticks (DIMMs) in matched sets to boost performance and reliability. If you’re adding 16 GB of RAM, for example, you’ll probably buy a “2 x 8GB kit” and install both sticks. Check your motherboard specs to see what kind of memory and how many sticks it supports.
Memory Update: The industry has recently switched from the old DDR4 memory to the new DDR5. Most new motherboards now use DDR5, so be sure to get the right type, which will be clearly marked on the motherboard box.
Suggested Hardware
- Corsair Vengeance LPX 16-GB 288-Pin RAM: While high-end gaming setups often use 32 or 64 GB of RAM, a pair of 8-GB sticks like these will handle most 1080p games and everyday tasks just fine.
- G.Skill Ripjaws V Series 32-GB 288-Pin RAM: With 32 GB, you’re set for both daily use and gaming.
- Corsair Dominator Platinum 64-GB 288-Pin RAM: If you’re into content creation or top-tier gaming and need more power, consider 64 GB of RAM.
Power Supply (PSU)
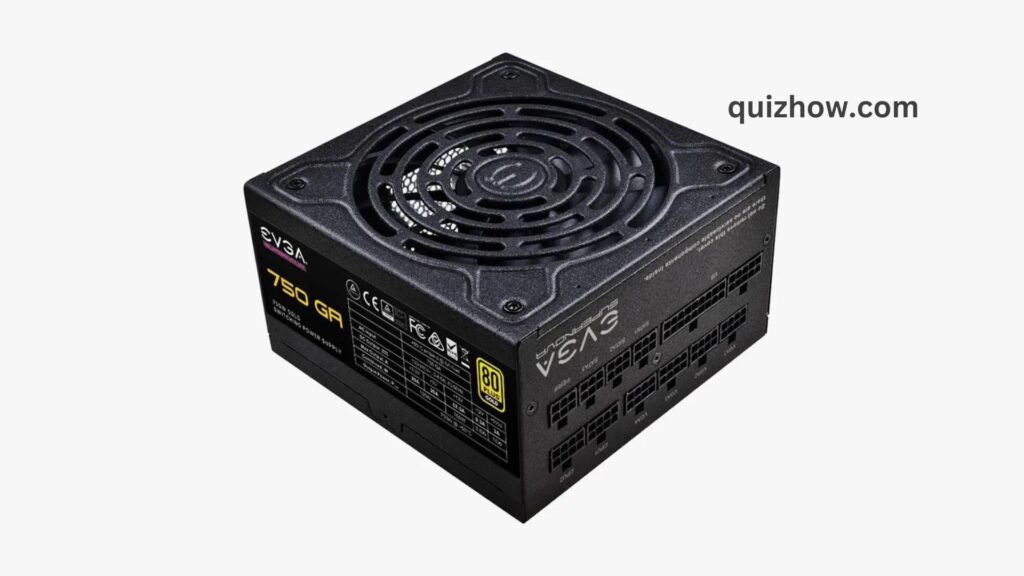
Your power supply might sound straightforward, but it’s crucial for keeping your system running smoothly. If something goes wrong with it, you could end up damaging other components too. Unfortunately, you can’t always tell how good a power supply is just by looking at specs or user reviews.
To avoid issues, stick with trusted brands like Cooler Master, Corsair, EVGA, or NZXT. These companies make reliable power supplies and are good at addressing problems if they come up.
If you’re using PCPartPicker, it’ll suggest the right wattage based on your build. If your power supply has too little wattage, your system might randomly shut down or not start. On the other hand, too much wattage means your power supply won’t be as efficient, which is where those gold and silver ratings come into play.
Also, consider getting a modular power supply. This lets you disconnect cables completely, reducing clutter and making installation easier.
Suggested Hardware
- Corsair RM750e (2023): This updated model is a solid choice for basic builds. It’s often on sale, fully modular, and supports the new ATX 3.0 standard.
- EVGA 1000GT: If you need a bit more power, the EVGA 1000GT is a great upgrade. It’s fully modular and offers higher wattage.
- Corsair RM1000X 1000-Watt Power Supply: For high-performance setups with multiple graphics cards or lots of storage, the Corsair RM1000X is a good pick.
Operating System
When you build a PC, Windows doesn’t come included. You’ll need to buy a license from Microsoft or another seller and create a USB drive to install it. Here’s a quick rundown of what you get with the latest version of Windows.
Putting It All Together
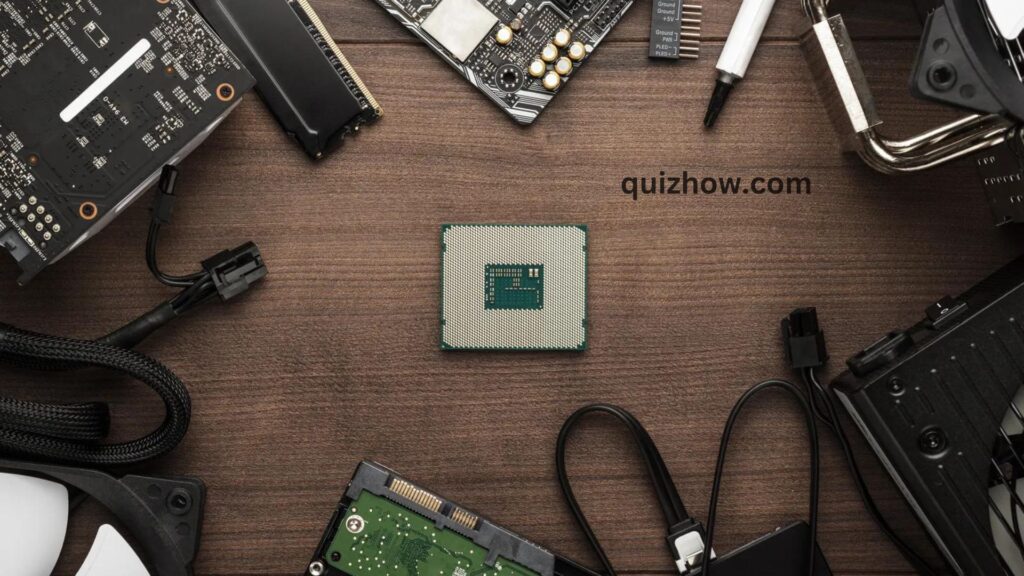
Every gaming PC build is a bit different, so we won’t dive too deep into specifics here. For detailed instructions on your particular hardware, check your manuals and look up your components on YouTube. Seeing someone install your exact parts can be really helpful, especially if you’re stuck and the manual isn’t making sense. But here are some general tips for assembling your PC.
First, set up a clean workspace. This could be a dining room table or a cleared-off desk—any surface big enough to lay your case flat and give you room to work. You’ll need a Phillips-head screwdriver for most screws. Generally, you don’t need to over-tighten anything; just make sure screws are snug. Also, be sure to discharge any static electricity and work on a nonmetallic surface like a wooden table.
Keep your instruction manuals handy. You’ll mainly use the case manual for setup and switch to the motherboard manual when needed. If there’s a conflict between your manual and this guide, follow the manual. It might seem overwhelming at first, but think of it like a big Lego set—each piece fits together. Start by installing your CPU into the motherboard.
Installing Your CPU
Start by carefully squeezing a small dab of thermal paste—about the size of a pea—onto the center of your processor’s silicon square. Aim to keep it as close to the middle as possible.
Next, align your heat sink with the screws around the processor and gently lower it into place. This will spread the thermal paste into a thin layer on the back of your processor. It’s okay if a little bit of paste squeezes out, but if it overflows a lot, you’ve used too much. In that case, clean it up with some isopropyl alcohol on a lint-free wipe, let everything dry, and try again.
Once the processor is in place, you’ll see the shiny square of silicon in the center. Your heat sink, which should have come with your processor, has a copper circle on one side. Position the heat sink directly over the processor, making sure the copper circle lines up with the silicon square.
If everything looks good, screw the heat sink into place, but don’t overtighten it. Then, check your motherboard manual for the right spot near the processor socket to plug in your heat sink’s cooling fan. Once you’ve found the correct connector, plug it in. Congratulations, you’ve just installed your CPU! That was the hardest part, and you did great!
Also Read: Protect Your Personal Information and Data
Installing Your Storage and Memory
Installing Your Memory
Installing your memory will be a lot easier than the CPU. You’ll find two or four slots next to the processor, and your motherboard manual will guide you on which ones to use based on your memory kit.
Each slot has small plastic levers at the ends. Press these levers down gently until they click open. Align your memory stick so the notch on the stick matches the notch in the slot. Hold the stick upright and press it down evenly across the top until the levers click back into place.
If you have an M.2 drive (a tiny SSD that looks like a stick of gum), you’ll need to find the M.2 slot on your motherboard. This slot might be under a heat sink, so check your manual for its location. Insert the end of the M.2 drive with the connectors into the slot, then gently push down the other end and secure it with the small screw provided.
Installing Your Motherboard and Power Supply
Next up, it’s time to install the motherboard into your case. Check your manual for any specific instructions, but here’s the basic idea: gently lower the motherboard into the case, lining up the ports with the wide slot at the back. Be careful not to move it around too much as you find the right spot. Once the screw holes underneath line up, start by turning the screws slightly to secure them. Then, go around and tighten each one until they’re snug. You don’t need to over-tighten; just make sure they’re secure.
Now, let’s install the power supply. You should find a spot for it near the top or bottom of the case—it’s a big square space that fits the power supply. If you’re not sure where it goes, look at the back of your case for a rectangular hole with three or four screw holes around it. That’s where the power supply will be installed, and where you’ll plug your PC in later. Once you’ve located the spot, place the power supply in and screw it into place, making sure the fan faces an open area or a vent. Don’t plug anything in yet; we’ll come back to the power supply later.
Installing Your Graphics Card
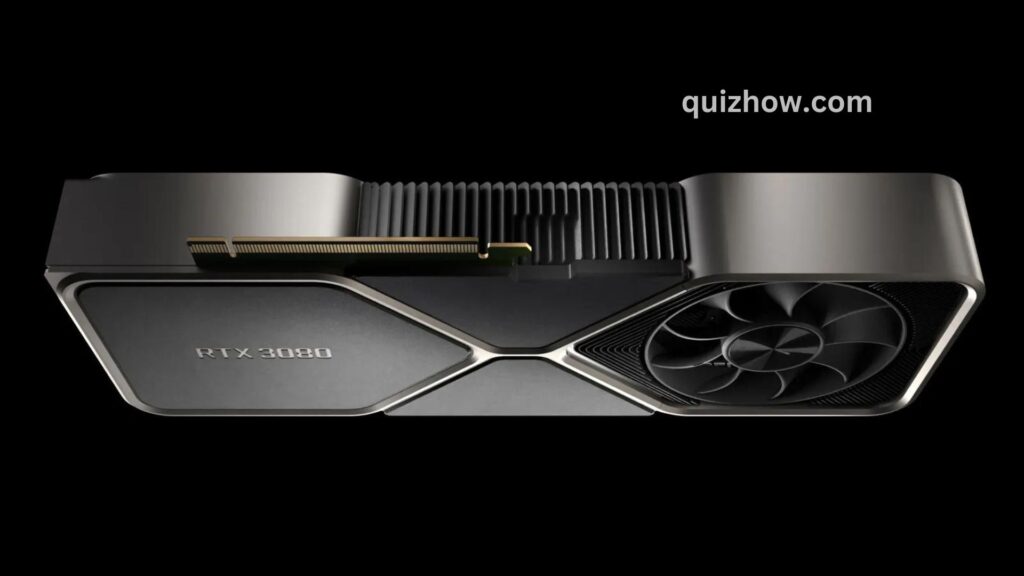
Your GPU is going to be pretty big, so it’s best to install it last. By then, things will be a bit tight in your case, so fitting it properly is crucial.
First, grab your motherboard manual and find the PCIe slot—it’s a horizontal slot with a small plastic latch beside it, usually located near the middle or bottom of your motherboard. Hold the GPU up to this slot and check which metal plates in your case need to be removed to make space. Unscrew and set them aside.
Next, line up the HDMI and DisplayPorts on your GPU with the openings at the back of your case. Slide the GPU into the PCIe slot; it should click into place easily. If it doesn’t, double-check that you’re inserting it correctly.
Once it’s in, use the screws from the metal plates you removed to secure the GPU to the case. There’s a small spot on the metal piece where the HDMI ports are that you’ll use for this. If you’re unsure, you might find this video from Asus helpful—it shows how to install a GPU and can give you a good visual guide.

Power Cables
Now that you’ve installed the other components, it’s time to connect the power. Start by making sure the PSU is unplugged and turned off using the switch on the back. Then, connect each power cable one by one, ensuring that the plugs are facing the right direction and are fully inserted. If the cables are permanently attached, they’ll have labels on their ends. For modular power supplies with detachable cables, match the labels on the cable, PSU port, and component.
How you route the power cables depends on your case setup. Some cases have special areas behind the motherboard to keep cables neat and out of sight. You can search PCPartPicker or YouTube for guides on how others have managed their cables in similar cases.
A Note on New PSUs: The instructions here are for the older power supply cable standard. If you have a cutting-edge system, it might use the new ATX 3.0 standard, so check your manual for the updated setup instructions.
Start by connecting the cable for the motherboard, which will be much wider than the other cables. Make sure the tab on the plug clicks into place. Your motherboard might also have an additional 4- or 8-pin power port near the CPU, so use the dedicated cable for that.
For the GPU, use the cables labeled as PCIe or VGA. These might come in different configurations, so check your GPU manual and make sure to plug in all necessary cables into the ports on the outer edge of the card.
Finishing Up
Now it’s time to connect your motherboard to the buttons and ports on the front of your case. Look for a small set of pins, usually near the bottom of the motherboard, that match up with the cables hardwired into the case. Your motherboard might come with a little adapter to make this easier. Just match the labels on the board or adapter with the cables and carefully slide them into place.
If this is your first build, it’s a good idea to stick with the fan setup that came with the case. Each fan will have its own cable for power and data, either hanging loose or already plugged into a fan controller. You can connect each fan directly to the motherboard using the ports shown in your manual, or you can connect the fan controller to both the motherboard and power supply.
This step will vary depending on your specific hardware, so double-check the manuals for each component to make sure everything is properly connected to the motherboard and power supply. It’s helpful to mentally go over each part you bought and ensure that it’s connected for both power and data, even if those connections are shared.
Boot It Up and Install Windows
You’re almost done! Now, press the power button. If your PC comes to life, congratulations—you probably nailed it! But if it doesn’t start, don’t worry. There are lots of reasons a PC might not boot on the first try. Kingston has a helpful video that goes over common issues that could be causing the problem, so if you run into trouble, watch it and go back through your steps.
It’s also possible that a component could be faulty. Another video can show you how to check your parts. And remember, YouTube is full of great PC-building tutorials if you need more help.
If your PC starts up without a hitch, the next step is easy: turn it off. Grab the Windows flash drive you made earlier, plug it in, and boot the PC up again. If everything’s set up right, your computer should automatically start installing Windows. If it doesn’t, you might need to go into your BIOS (your motherboard manual will tell you how) and set the USB drive as the first “boot device.” Follow the steps, starting at step 3, in this quick guide.

You Did It!
Congrats on building your first PC! It can be a bit of a hassle, but it’s a pretty satisfying way to spend an afternoon—or maybe even a few days if you hit some unexpected bumps along the way.
Discover more from QuizHow
Subscribe to get the latest posts sent to your email.

