Want to grow your online presence and reach more customers? The best way to do that is by having your own website.
The good news is that building a website is much easier now than it used to be. You don’t need any coding skills or a developer to get started.
With this simple 9-step plan, you’ll have your website up and running in no time. Ready to begin? Let’s get started.
By the way, did you know that with GetResponse Website Builder, you can create your website in no time using AI? It offers a range of ready-made templates, an easy-to-use interface, and even helps you build your site automatically. Check out the video below to see what you can do with this tool, and start building your website today!
1. Specify a goal for your website and list all your requirements
If you’re thinking about building a website from scratch, it’s a good idea to start by deciding what purpose it will serve. In other words, what do you want to accomplish with your website?
Are you planning to sell products or services? Maybe you want to showcase your portfolio? Or perhaps you’re creating a site just for branding?
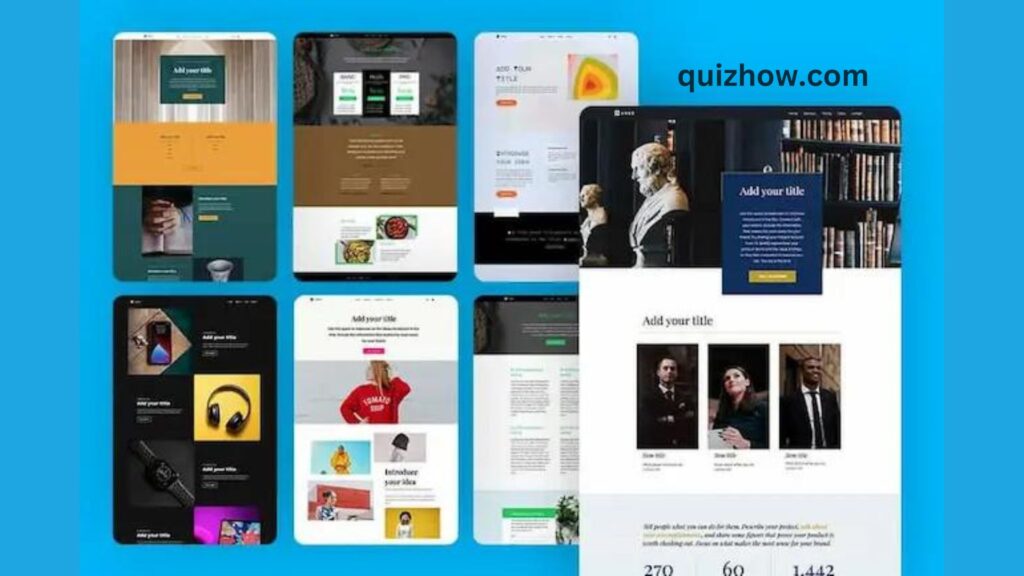
Answering these questions will help you figure out:
- What kind of pages you’ll need (like a portfolio page, pricing page, or an about us page)
- What content to include (images, articles, videos)
- And any features you might need (like email marketing integration or live chat)
If you’re not entirely sure about this step, there’s a helpful guide on why having a website is important. And if you know you need a website but aren’t sure what to base it on, some profitable website ideas might give you inspiration.
Once you’ve got that sorted, you can move on to the next steps, like researching your market and competitors.
2. Research your market and competitors
Now that you’ve got your goal and some initial ideas, it’s time to research your target audience and competitors.
Here’s what you’ll want to figure out:
- What information your potential customers are looking for
- What kind of content your competitors are publishing to attract them
The best way to do this (even though it takes a little time) is to manually check your competitors’ websites, social media groups, Q&A sites, and forums. Take notes on the topics they cover, questions their audience asks, and the type of content they share.
For example, let’s say you’re a personal trainer. By looking at other trainers’ websites, you might notice they all have:
- A services page describing their offerings and pricing
- An about page with their background
- Testimonials showing client results
- A blog with training tips and stories
- An email signup form offering a free meal plan
- Links to their YouTube and Instagram profiles
On social media, you might also see that people are often asking about personal trainers in certain areas. So, you could add a page listing the gyms where you offer your services.
It’s crucial to do this research even if you’re creating something simple, like a directory for your local church. You’ll want to understand what your audience cares about so you can plan your content accordingly.
Once your research is done, jot down everything you need to include on your website, and you’ll be ready for the next step!
3. Research what appeals to you visually
Now it’s time to do some visual research and find website design layouts that both you and your target audience will like.
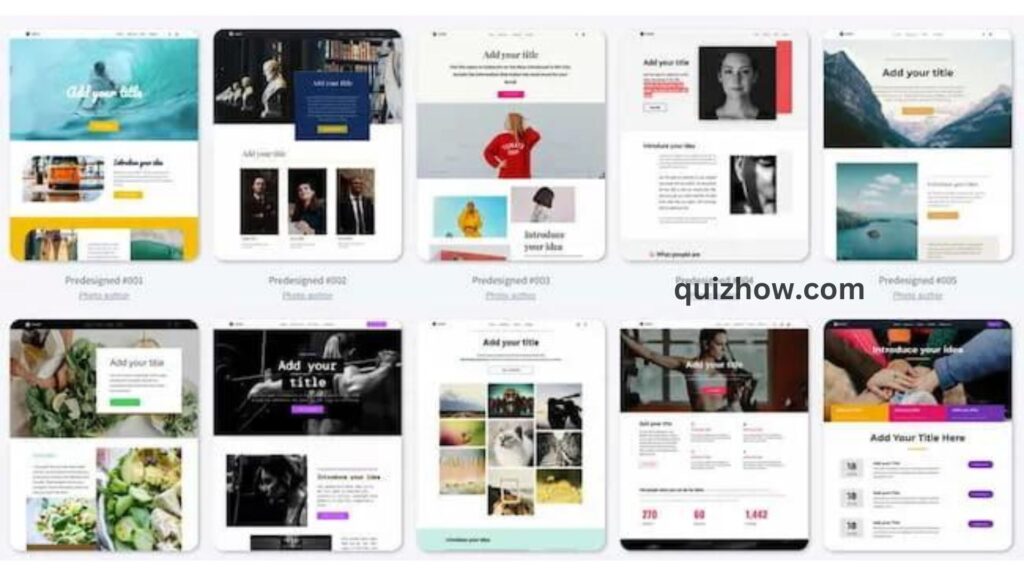
Just like before, start by checking out your competitors’ websites, browsing website template galleries, and scrolling through Pinterest for ideas.
The key here is to keep your website’s goal and audience in mind. These two things should guide you when deciding on your website’s layout, whether you’re going for a multi-page site or a simple one-page design.
While it’s okay to get inspiration from big companies, don’t spend too much time on their sites if you’re running a small local business. Their goals, budgets, and resources (like design and development teams) are likely very different from yours.
Now, let’s move on to the next, slightly more technical step – picking your website builder.
4. Choose your website builder

Let’s start with a simple question: do you really need a website builder to create a website?
The short answer is no.
If you have coding skills, you can build a website from scratch using a code editor and tools like HTML, CSS, and JavaScript libraries (like Bootstrap). But this takes a lot of time, skill, and experience.
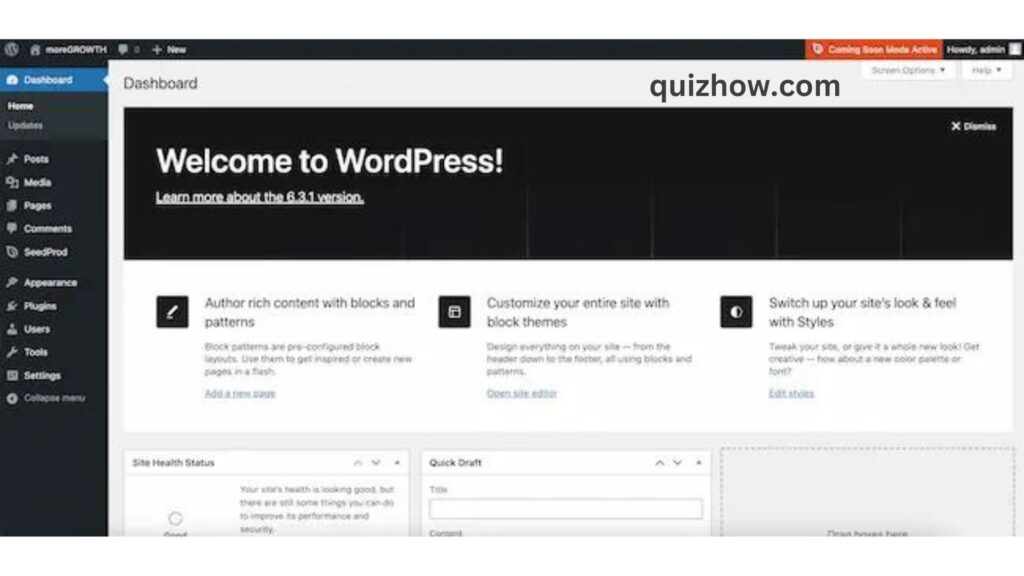
Another option is hiring a web developer to do it for you. They’ll likely customize a template using WordPress or another content management system (CMS) like HubSpot. This is popular, especially if you plan to run a blog, but it has downsides. WordPress requires constant updates, its dashboard can be tricky to use, and you’ll need your developer’s help if you want to make design changes outside of the template.
The third option—and the most budget-friendly and flexible for small businesses—is using drag-and-drop website builders. These tools come with ready-made templates, easy-to-use interfaces, and don’t require you to know any coding. Plus, you won’t have to worry about updates, so your site can be live quickly without any hassles.
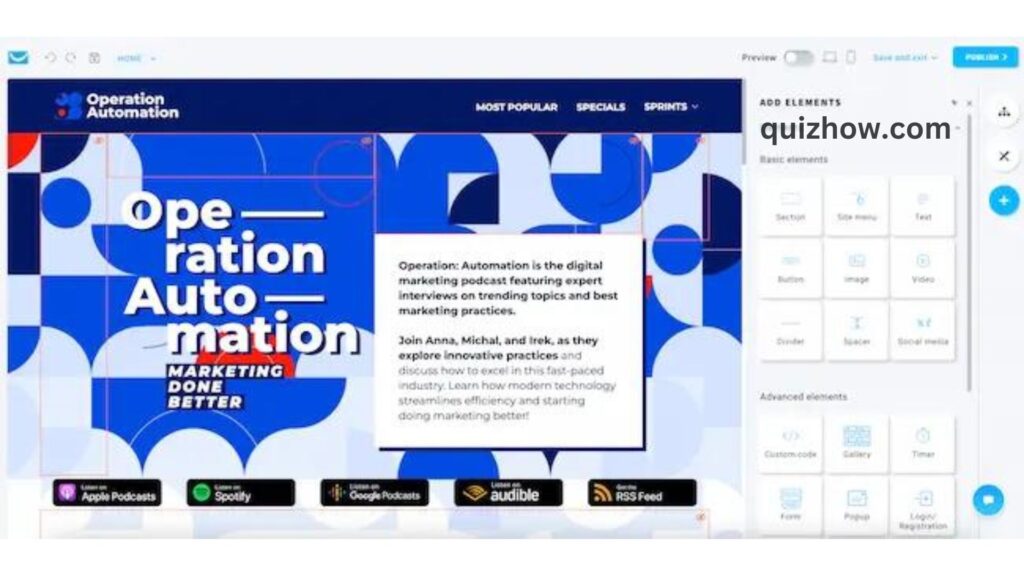
Some builders, like GetResponse AI Website Builder, take things further by offering:
- AI to create a website that fits your business goals
- Access to thousands of free high-quality images
- Automatic connections to marketing tools for email campaigns, live chat, and running ads on Facebook or Google
- Mobile-friendly pages and free SSL for security
- Web hosting and domain registration right in the dashboard
To choose the right website builder, think about your research from earlier. What pages, content, and features do you want? Then, check out popular builders to see which ones fit your needs.
Most of these tools offer free trials, so you can test them out and see how easy they are to use. When making your choice, also consider:
- Does it have any limitations, like bandwidth caps?
- Does it offer SEO tools?
- How complex is the CMS?
- How easy is it to connect essential tools, like Google Analytics?
- Is it a true drag-and-drop builder, or does it require coding skills?
To help you pick, we’ve reviewed the best website builders for small businesses. And if you’re working with a tight budget, here’s a list of free website builders worth checking out!
5. Choose your web host
When building a website from scratch, you’ll need to choose where your site will be hosted—basically, where all the files that make up your website will be stored.
Picking the right web hosting provider is important for a few reasons:
- It affects the speed and performance of your site, which is crucial for ranking higher in search results.
- It helps keep your business website secure and safe from potential threats.
- It allows you to back up your files and the entire website in case something unexpected happens.
On top of that, different hosts offer varying levels of customer support and flexibility for things like changing DNS settings.
In short, your web host can really impact how well your website performs and how your business is perceived online.
The good news? Most popular web hosting services are very capable, and small businesses won’t notice huge differences unless they’re getting tons of traffic.
If you’re using a website builder like GetResponse, most of these tools come with reliable web hosting, so you don’t have to worry about the technical stuff. For personal websites or small businesses, this is a stress-free option.
6. Choose your domain name
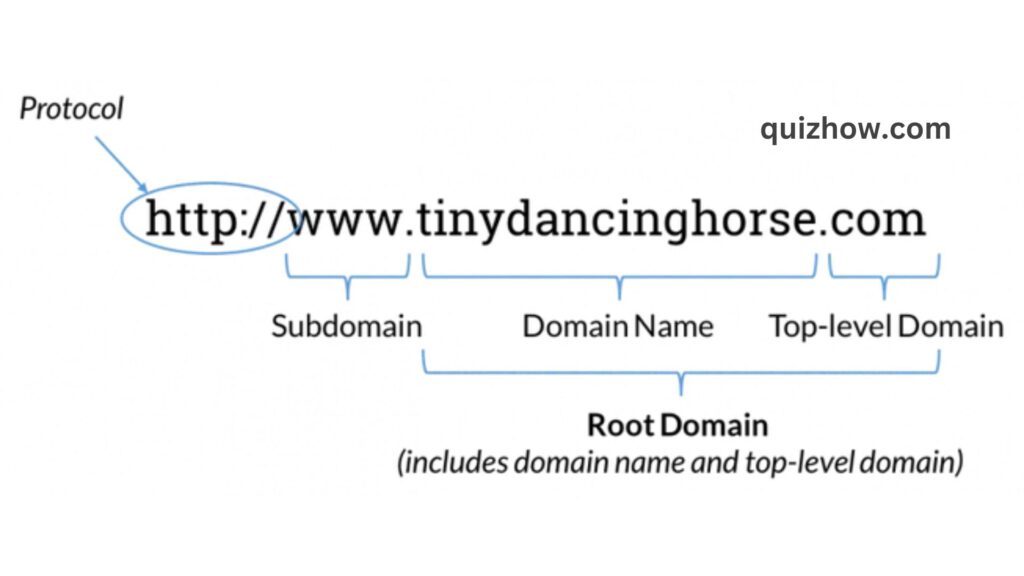
It’s time to choose a domain name for your business—this is the URL your audience will type to find your website.
When using a website builder, you usually have two options: stick with a default domain or register your own custom one.
For example, if you’re using GetResponse Website Builder and don’t register a custom domain, your website’s URL might look like:
- YourCompanyName.grwebsite.com
- YourCompanyName.grweb.site
But if you register your own custom domain, your URL will be much simpler and easier to remember, like:
- YourCompanyName.com
- YourCompanyName.org
- YourCompanyName.io
When you register a custom domain, you also get to choose the extension (like .com), known as the top-level domain (TLD).
The difference between a default domain and a custom one isn’t just about memorability—it’s about building a strong reputation and running more effective marketing campaigns. As a business owner, you want your website to have a good reputation. A custom domain helps with that because the stronger your domain, the easier it is to attract traffic from search engines like Google or Bing.
If you stick with a non-custom domain, you’re sharing that reputation with everyone else using the same provider’s domain, which isn’t ideal in the long run.
A custom domain is also crucial if you plan to run email marketing campaigns. Email providers like Gmail or Yahoo! are more likely to trust emails from registered domains, which can improve your chances of landing in your audience’s inbox and increasing conversions.
The good news? If you’re using a tool like GetResponse, you can easily register a custom domain right within the platform. They even set up an email domain for you automatically, so you don’t have to deal with technical details like SPF or DKIM settings. This helps you build a solid online presence and strong email deliverability without the hassle.
7. Add your content and customize the layout
Now that you’ve set everything up, it’s time to bring it all together.
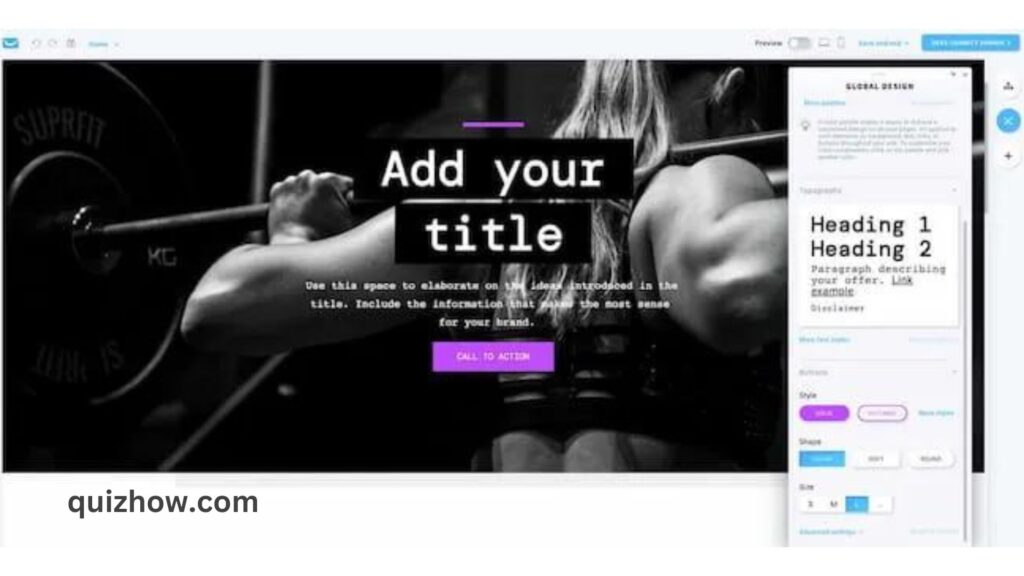
In most website builders, like GetResponse, you’ll have three options:
- Pick a ready-made template and customize it.
- Use an AI tool to create a website based on info like your industry and goals.
- Build your website from scratch using a blank template.
If this is your first time building a website, I suggest starting with the first or second option. It’s quicker, and the drag-and-drop editor lets you easily adjust the design to your liking.
With your website builder, you should be able to:
- Add and remove pages.
- Customize your content (text, images, buttons, links, videos, etc.).
- Include contact and subscription forms.
- Add social media icons.
- Adjust your navigation menu.
- Manage settings for individual pages (like titles and descriptions).
- Integrate external tools like Google Analytics or Facebook Pixel.
- Add an online store and payment options (coming soon to GetResponse).
- Create membership sites or limited-access pages.
Some builders even offer tools to migrate your existing website and create color schemes based on your logo.
The type of pages you’ll include depends on your business, but there are a few must-haves for any small business:
Homepage
Your homepage is often the first thing visitors see, so it needs to make a great impression. Keep it clean, easy to navigate, and designed to guide different types of users to the right place on your site.
About Us Page
An “About Us” page is where you tell your story. It’s a great opportunity to connect with visitors by sharing your mission, values, and what your business stands for. Done right, this page can inspire people to stick around and learn more about how they can support you.
Contact Page
Every business needs a contact page. It builds credibility and makes it easy for customers to reach you. Make sure your contact page is designed to be trustworthy and approachable—people might want to check where you’re located or even chat with your team before making a purchase.
Offers Page
If you’re selling products or services, an “Offers” page is essential. Use this space to showcase what you’re offering and why it’s valuable. You can either allow customers to purchase directly from this page or link them to your online store.
Blog
Whether you’re selling products or offering services, a blog can help you connect with your audience. Use it to share your expertise, educate readers, and grow your email list for future content.
404 Page

A 404 page appears when a user clicks a broken link or tries to access a missing page. While it’s not a major part of your business, you can still have fun with it and use it to direct people back to useful content.
FAQ Page
An FAQ page helps answer common questions, whether it’s about pricing, services, or policies. It’s a great way to clear up any doubts and make things easier for potential customers.

Reviews and Testimonials
Showcasing customer reviews and testimonials can be a big credibility booster. If you have happy clients, share their experiences to build trust and increase conversions.
By including these key pages, you’ll be able to create a website that’s not only functional but also welcoming and effective at driving engagement.
8. Connect all the necessary tools
When building a website, you’ll probably want to connect it with other tools and platforms to get the most out of it.
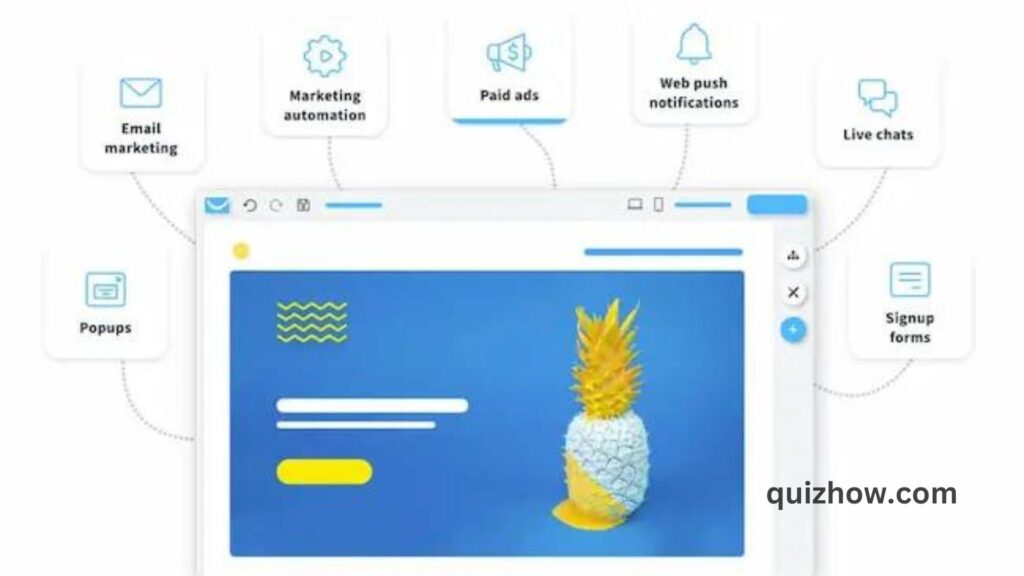
For example, if you connect your site to Google Analytics, you can learn a lot about your visitors—like which pages they visit the most, how long they stay, and even their demographics.
With Google Tag Manager, you can set up “events” to track specific actions on your site, like clicks on buttons or form submissions.
If you connect your website to an email marketing platform, you can collect newsletter subscribers, send automated emails in real-time, and even retarget visitors who don’t complete certain actions (like abandoning their shopping cart).
Depending on the tools you use, connecting your site to different platforms might involve installing plugins or adding code to your website’s HTML.
But if you’re using GetResponse Website Builder, connecting everything is super easy.
GetResponse comes ready with:
- Facebook & Instagram Ads
- Google Ads
- Email marketing
- Marketing automation
- Live chats
- Webinars
- Web push notifications
- Conversion funnels
- Forms and popups
Plus, connecting Google Analytics and Google Tag Manager is as simple as entering your User-ID—no coding needed!
If you want to integrate your GetResponse website with other platforms, you can use over 150 pre-made integrations or connect through Zapier.
9. Preview and publish
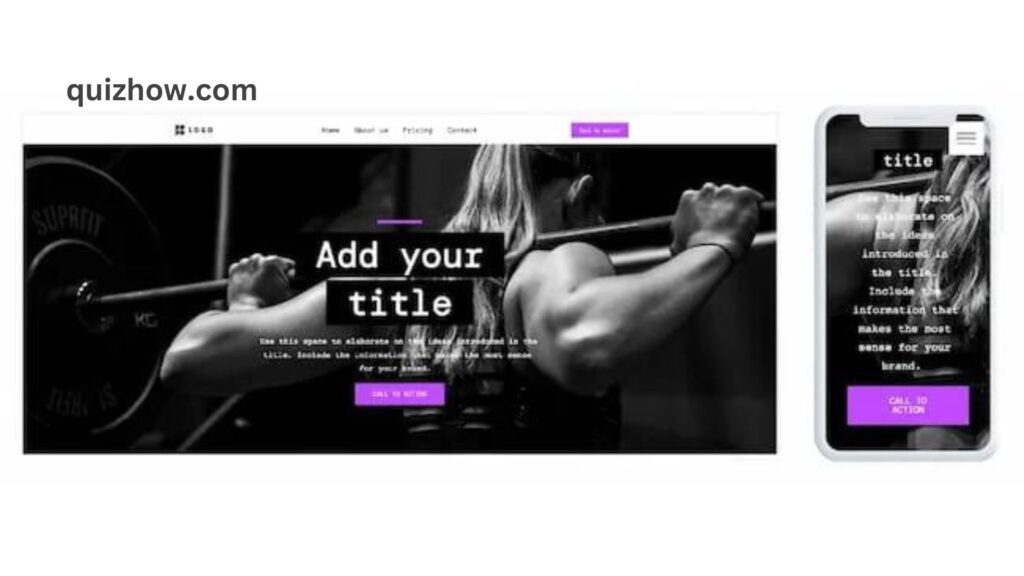
Before you hit that publish button, make sure to double-check everything on your website. Make sure all your content is filled in, and that your contact and signup forms are working properly.
Once you’ve confirmed everything looks good, go ahead and publish your site. Congratulations—your website is now live!
Next, share the link with friends and family and ask for their opinions. Have them test out the site, play around with it, and see how it looks on different devices.
After you’ve gathered their feedback and feel ready to share your site with the world, do two important things:
- Check your website settings to make sure it’s set to be indexed by search engines so people can find it easily.
- Add the link to your Facebook page, Google Business profile, and any other social media accounts you use to promote your business.

Discover more from QuizHow
Subscribe to get the latest posts sent to your email.

